Embarking on a journey to create your very own travel van? You’ve come to the right place! Building a travel van offers unparalleled freedom and personalized adventure. At SIXT.VN, we understand the allure of the open road and the desire for a customized travel experience. This guide will provide you with a complete walkthrough, from choosing the right van to adding the final touches, ensuring your mobile home is ready for unforgettable adventures. Let’s transform your van into a cozy and functional travel haven, allowing you to explore Vietnam’s hidden gems and beyond with ultimate convenience and comfort. Discover tailored travel solutions at SIXT.VN, enhancing your road trip with reliable services.
1. Defining Your Travel Van Dream
Before diving into the nitty-gritty, it’s essential to define your vision for your travel van. This clarity will guide your decisions and ensure the final product aligns with your travel aspirations.
1.1. Identifying Your Travel Needs
What kind of travel do you envision? Are you planning weekend getaways, full-time van life, or something in between? Consider these factors:
- Trip Duration: Weekend trips require less comprehensive setups than full-time living.
- Travel Destinations: Harsh climates demand better insulation and ventilation.
- Number of Travelers: A solo traveler has different needs than a family.
- Activities: Surfing requires storage for boards; hiking needs space for gear.
- Budget: Set a realistic budget to avoid overspending and make informed decisions.
1.2. Setting a Realistic Budget
Van conversions can range from budget-friendly to high-end. Determine how much you’re willing to spend and allocate funds accordingly. Here’s a breakdown of potential costs:
| Category | Estimated Cost | Notes |
|---|---|---|
| Van Purchase | $5,000 – $40,000+ | Used vans are more affordable but might require more maintenance. New vans offer reliability but come at a higher price. |
| Insulation | $100 – $500 | Essential for temperature control and comfort. |
| Flooring | $100 – $300 | Durable and easy-to-clean options are best. |
| Walls & Ceiling | $200 – $800 | Consider lightweight materials for better fuel efficiency. |
| Bed & Seating | $300 – $1,500 | Choose a comfortable mattress and versatile seating arrangements. |
| Kitchen | $500 – $3,000 | Includes appliances like a refrigerator, stove, sink, and water system. |
| Electrical System | $1,000 – $5,000+ | Solar panels, batteries, inverters, and wiring are crucial for off-grid living. |
| Plumbing | $200 – $1,000 | Water tanks, pumps, and a toilet system if desired. |
| Ventilation | $200 – $500 | Roof fans and windows help prevent condensation and maintain airflow. |
| Miscellaneous | $500 – $2,000 | Includes curtains, lighting, hardware, and decor. |
| Total | $7,200 – $55,600+ | This is a broad estimate; actual costs depend on your choices and DIY skills. According to a study by [Vanlife Outfitters] in [2023], the average DIY van conversion costs between $15,000 and $30,000, but can vary widely based on individual preferences. |
1.3. Sketching Your Layout
A well-thought-out layout maximizes space and functionality. Consider:
- Bed Placement: Fixed bed vs. convertible seating area.
- Kitchen Area: Counter space, storage, and appliance placement.
- Storage Solutions: Maximize vertical space with shelves and cabinets.
- Living Area: Comfortable seating for relaxation.
- Bathroom (Optional): Toilet, shower, or both.
2. Choosing the Right Van
Selecting the right van is the foundation of your travel van conversion. Consider size, fuel efficiency, reliability, and budget.
2.1. Popular Van Models
Here are some of the most popular van models for conversions:
- Ford Transit: Aerodynamic and fuel-efficient. According to Ford’s official website, the Transit offers excellent fuel economy and is easy to service across North America.
- Mercedes-Benz Sprinter: Spacious and luxurious. Research from Mercedes-Benz in 2022 indicates that the Sprinter is favored for its reliability and advanced features, making it a top choice for long-term van dwellers.
- Dodge Ram ProMaster: Wide body and high roof options. According to a report by Stellantis in 2021, the ProMaster’s design makes it ideal for maximizing interior space, providing ample room for customization.
- Chevrolet Express/GMC Savana: Reliable and affordable. A study by General Motors in 2020 highlights these vans’ dependability and lower initial cost, making them a practical choice for budget-conscious converters.
2.2. Factors to Consider When Choosing a Van
- Size: High-roof vans allow you to stand up, while shorter vans are easier to maneuver.
- Mileage: Lower mileage generally means fewer potential maintenance issues.
- Condition: Inspect for rust, leaks, and mechanical problems.
- Fuel Efficiency: Important for long-term travel costs.
- Budget: Balance your desired features with your financial constraints.
2.3. Buying New vs. Used
| Feature | New Van | Used Van |
|---|---|---|
| Cost | Higher initial cost | Lower initial cost |
| Reliability | Newer components, less likely to require immediate repairs | May require immediate repairs and ongoing maintenance |
| Customization | Clean slate for customization, no existing modifications to undo | May have existing modifications that need to be removed or altered, adding to the workload |
| Warranty | Typically comes with a manufacturer’s warranty | Limited or no warranty, increasing financial risk |
| Depreciation | Significant depreciation in the first few years | Less depreciation, as the van has already gone through its initial depreciation period |
| Considerations | Best for those seeking reliability and willing to invest more upfront | Ideal for budget-conscious converters who don’t mind potential maintenance and are willing to do more research |
3. Preparing Your Van for Conversion
Before you start building, you need to prepare your van by cleaning, removing unnecessary components, and addressing any existing issues.
3.1. Cleaning and Rust Repair
- Deep Clean: Remove all dirt, grime, and debris.
- Rust Removal: Address any rust spots with a wire brush and rust converter.
- Sealing: Seal any holes or gaps to prevent water damage.
3.2. Removing Unnecessary Components
- Seats: Remove any unwanted seats or partitions.
- Panels: Take out interior panels to access the van’s frame.
- Flooring: Remove the existing flooring to prepare for insulation.
3.3 Sound Deadening
- Apply Sound Deadening Material: Apply sound deadening mats to large, flat metal surfaces like the walls, floor, and ceiling to reduce vibrations and road noise. Products like Dynamat or Kilmat are popular choices. This step significantly improves the overall comfort inside the van.
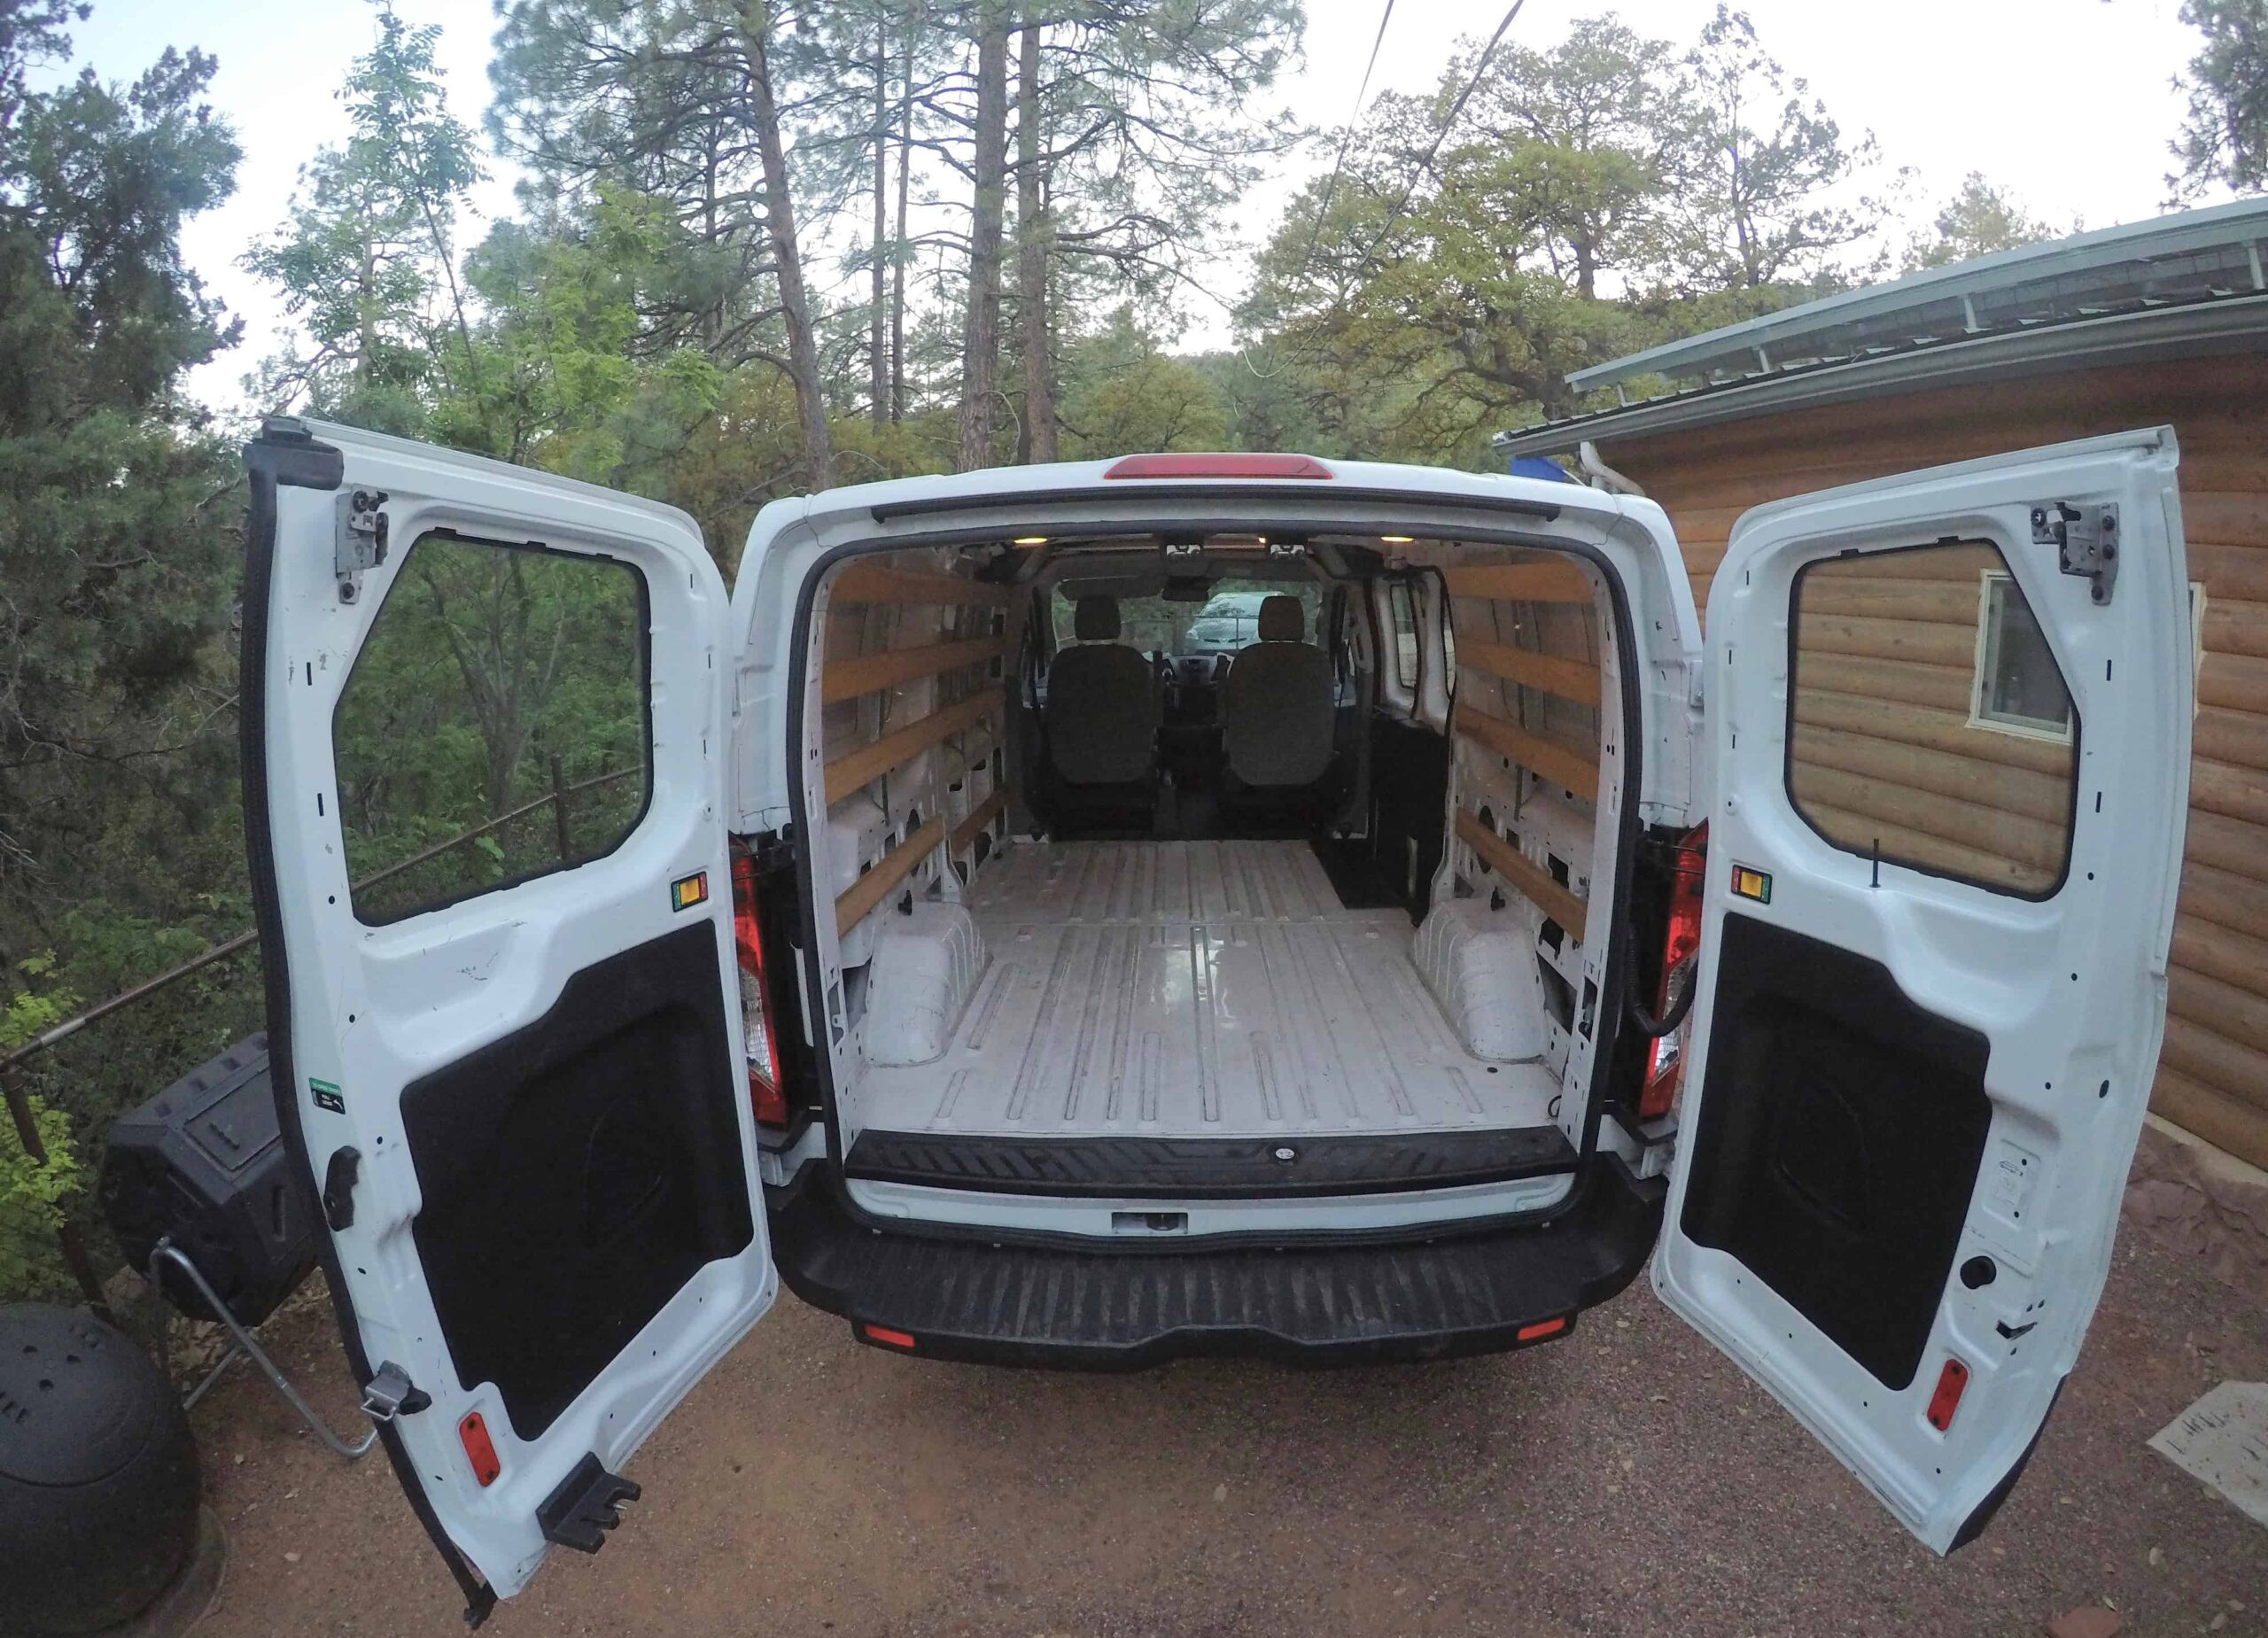 Applying sound deadening material to van walls for noise reduction
4. Insulating for Comfort
Insulation is crucial for temperature control and comfort. Proper insulation keeps your van cool in the summer and warm in the winter.
4.1. Types of Insulation
- Rigid Foam Board: Excellent insulation value, but can be difficult to cut and fit.
- Spray Foam: Fills gaps easily, but can be messy and expensive.
- Fiberglass: Affordable, but can cause skin irritation and mold issues.
- Reflectix: Reflective insulation that reflects radiant heat. According to the U.S. Department of Energy, reflective insulation can reduce radiant heat transfer by 50% to 95%, making it effective in both hot and cold climates.
- Wool: Natural and eco-friendly, but can be more expensive.
4.2. Insulation Process
- Clean Surfaces: Ensure all surfaces are clean and dry.
- Measure and Cut: Measure and cut insulation to fit the van’s frame.
- Install Insulation: Secure insulation with adhesive or tape.
- Seal Gaps: Fill any gaps with spray foam or caulk.
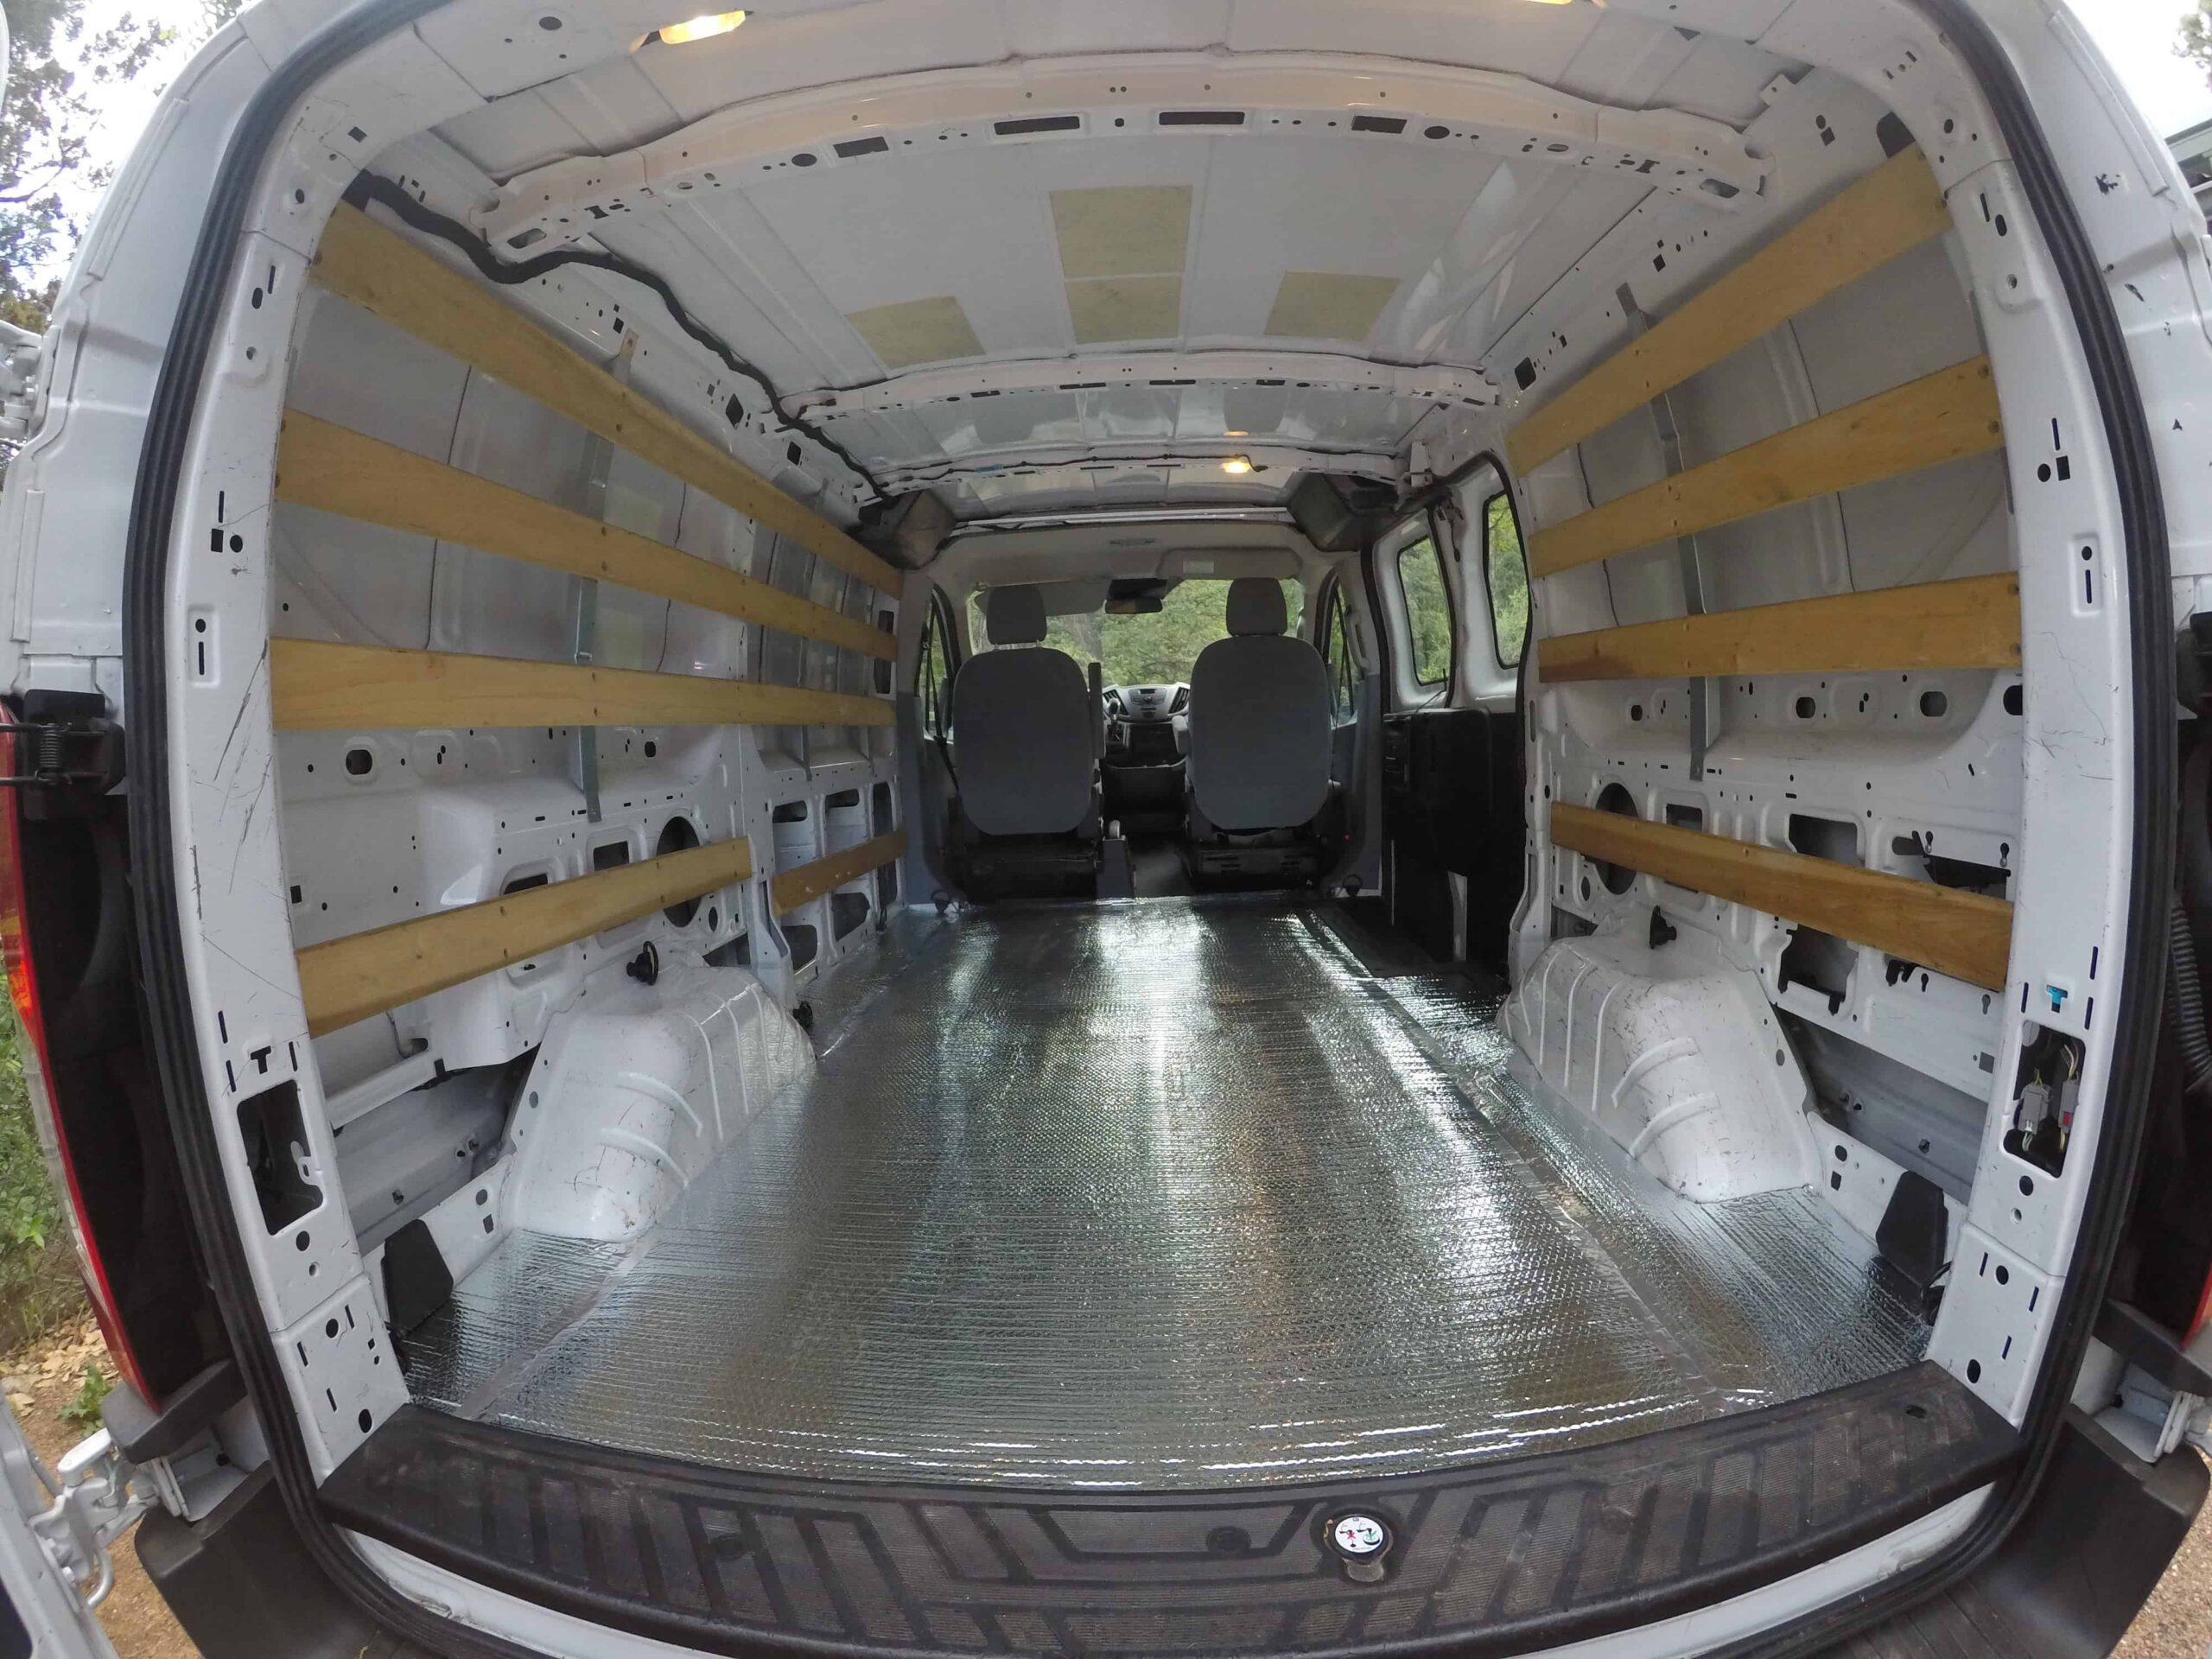 Installing Reflectix insulation in a travel van for temperature control
5. Flooring Installation
A durable and aesthetically pleasing floor is essential for your travel van.
5.1. Subfloor
- Plywood: Provides a solid base for your flooring.
- Measure and Cut: Cut plywood to fit the van’s floor.
- Secure Subfloor: Screw plywood into the van’s frame.
5.2. Flooring Options
- Vinyl: Durable, water-resistant, and easy to clean.
- Laminate: Affordable and stylish, but less water-resistant.
- Hardwood: Elegant and durable, but more expensive.
- Carpet: Comfortable but can trap dirt and moisture.
5.3. Installation Process
- Prepare Subfloor: Ensure the subfloor is clean and level.
- Measure and Cut: Measure and cut flooring to fit the subfloor.
- Install Flooring: Adhere flooring to the subfloor with adhesive.
- Seal Edges: Seal edges with caulk to prevent water damage.
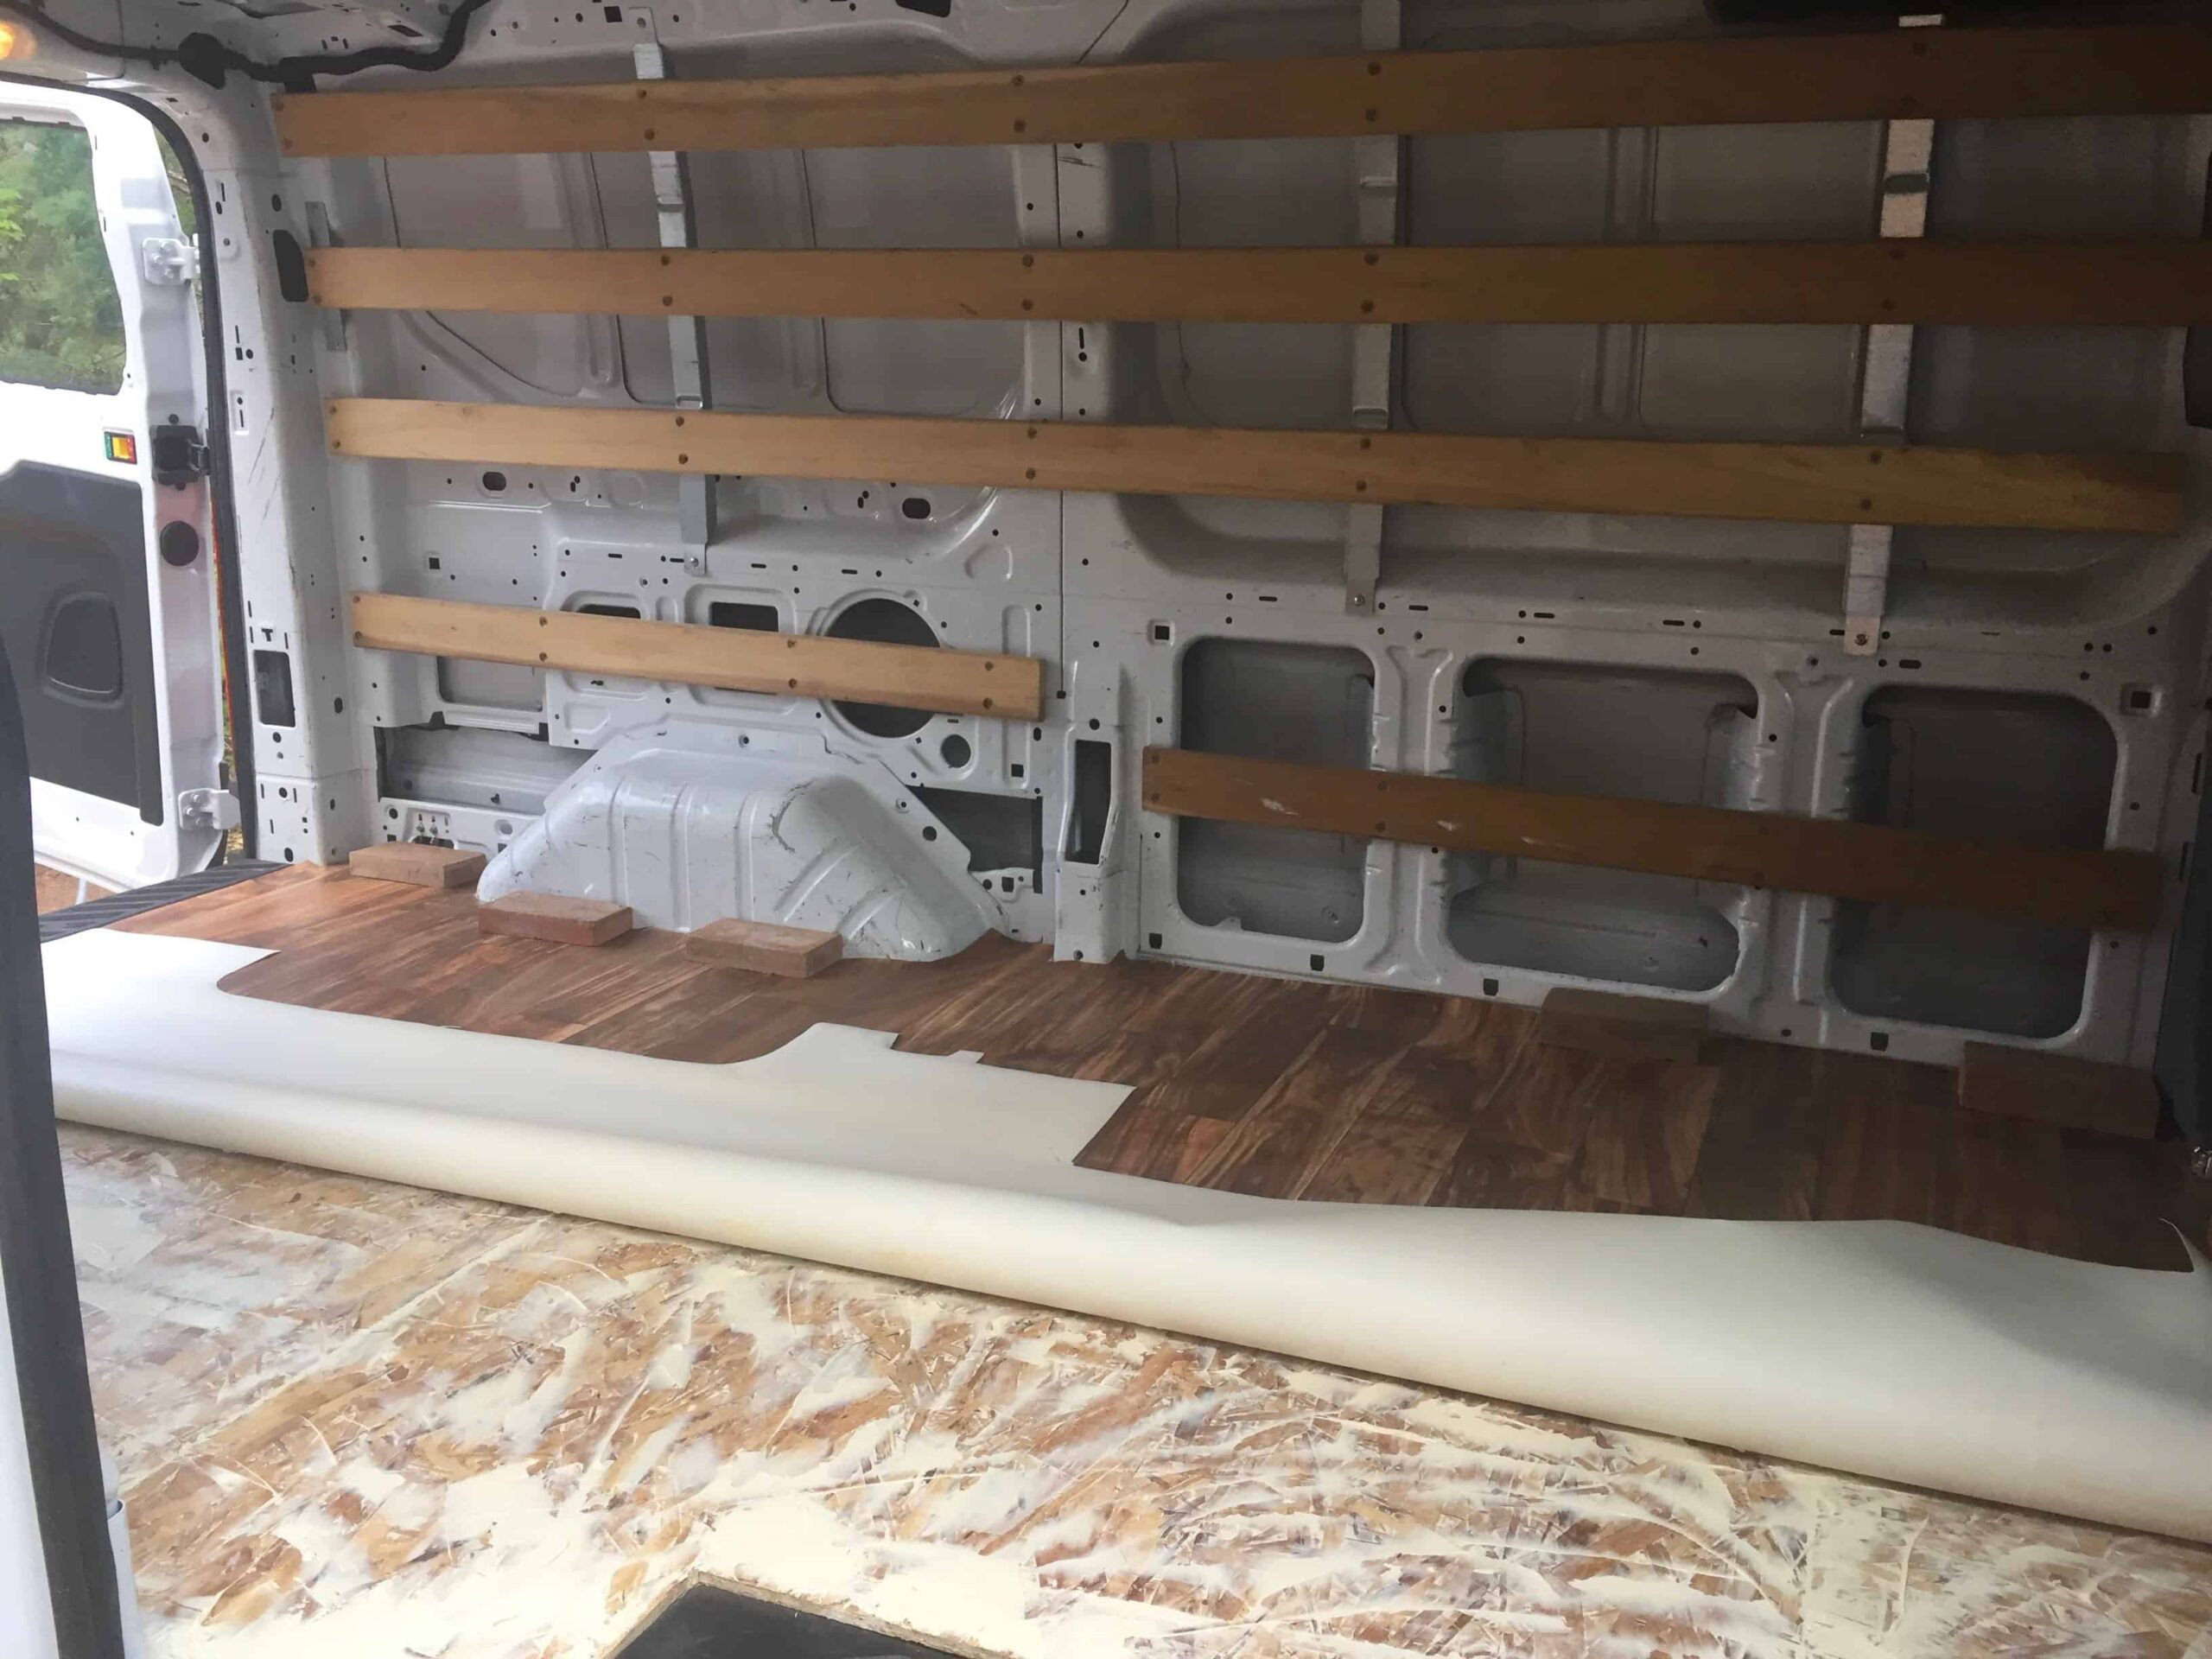 Securing a vinyl floor with bricks in a DIY van conversion
6. Walls and Ceiling
Creating comfortable and aesthetically pleasing walls and ceilings transforms the van’s interior.
6.1. Framing
- Wooden Frame: Provides a structure to attach wall and ceiling panels.
- Measure and Cut: Cut wood to fit the van’s frame.
- Install Frame: Secure the frame to the van’s metal structure.
6.2. Paneling Options
- Plywood: Affordable and easy to work with.
- Shiplap: Adds a rustic touch.
- Fabric: Soft and customizable.
6.3. Installation Process
- Prepare Frame: Ensure the frame is sturdy and level.
- Measure and Cut: Measure and cut paneling to fit the frame.
- Install Paneling: Attach paneling to the frame with screws or adhesive.
- Finishing Touches: Add trim and caulk to create a seamless look.
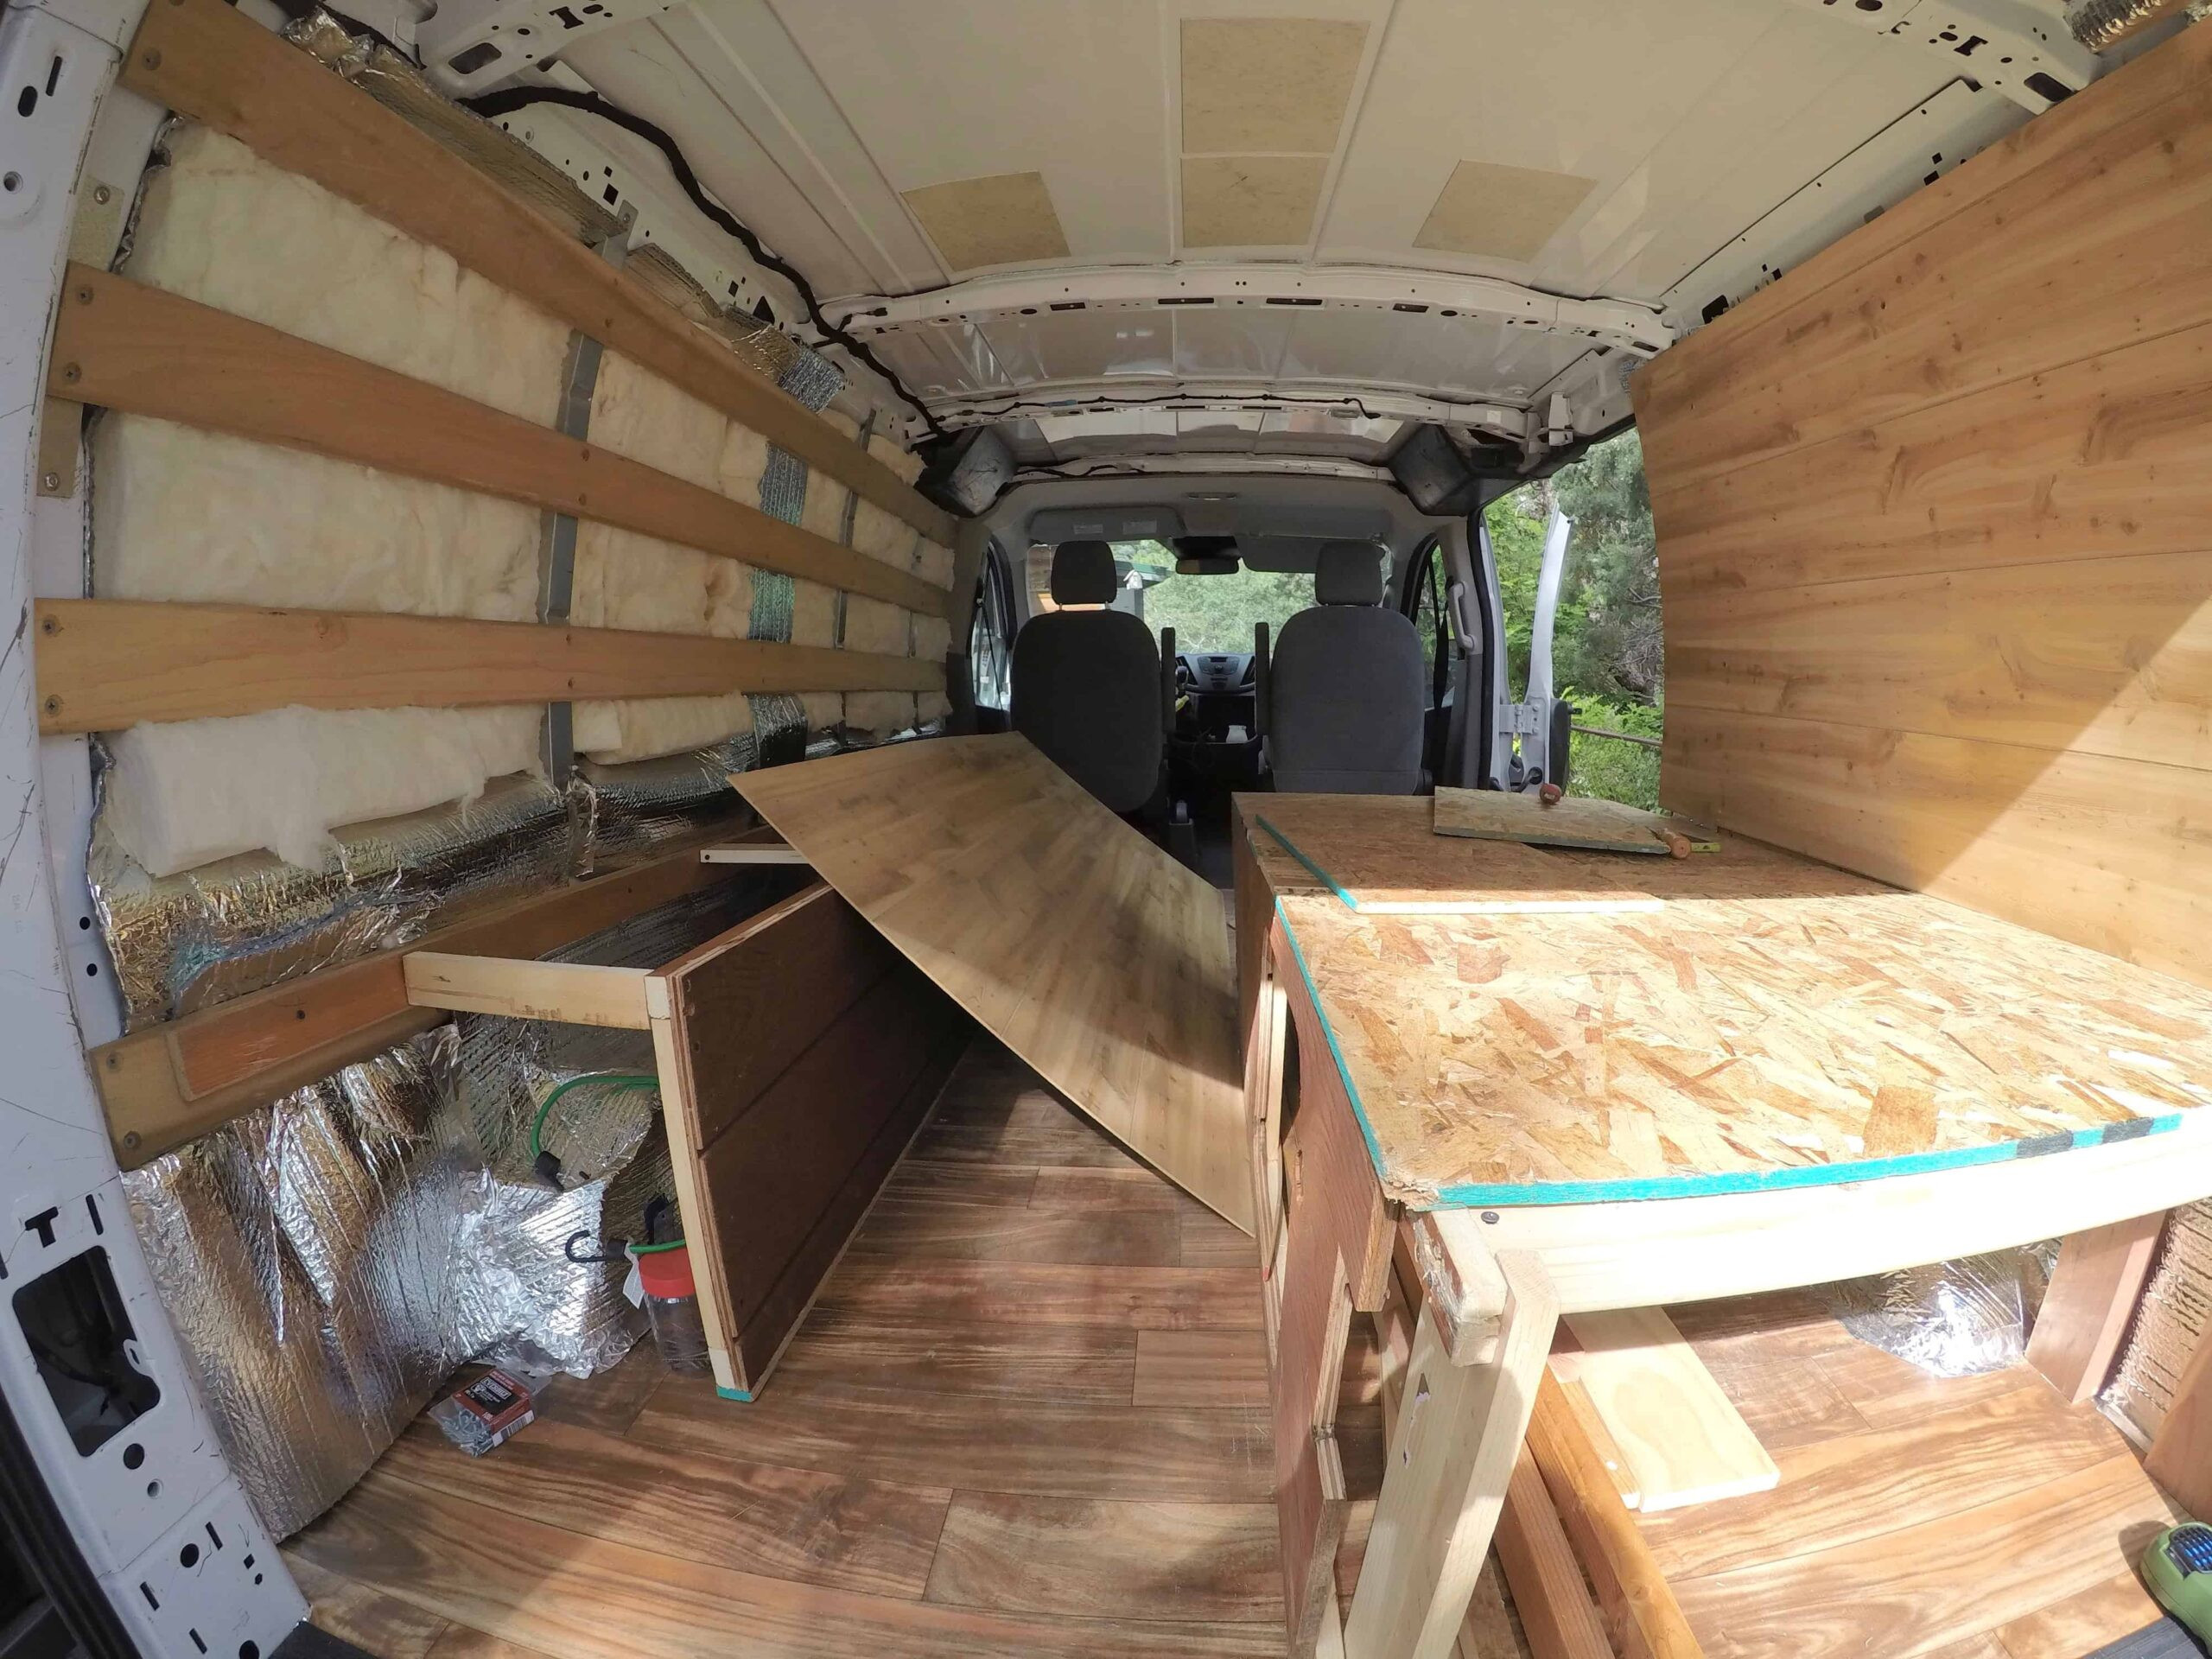 Installing faux wood wall panels in a Ford Transit van conversion
7. Electrical System: Powering Your Adventure
A reliable electrical system is essential for powering appliances, lights, and electronic devices.
7.1. Components of an Electrical System
- Solar Panels: Convert sunlight into electricity. According to a report by the Solar Energy Industries Association (SEIA) in 2023, solar panel efficiency has increased by 20% in the last decade, making them a more viable option for van conversions.
- Batteries: Store electricity for later use.
- Inverter: Converts DC power from batteries to AC power for appliances.
- Charge Controller: Regulates the flow of electricity from solar panels to batteries.
- Wiring: Connects all components of the electrical system.
7.2. Planning Your Electrical System
- Determine Power Needs: Calculate the total wattage of all appliances and devices.
- Choose Components: Select solar panels, batteries, and an inverter that meet your power needs.
- Create a Wiring Diagram: Plan the layout of your electrical system.
- Install Components: Mount solar panels, batteries, and an inverter in the van.
- Wiring: Connect all components according to your wiring diagram.
- Testing: Test the electrical system to ensure it functions correctly.
7.3. Safety Precautions
- Use Fuses: Protect your electrical system with appropriately sized fuses.
- Proper Grounding: Ensure all components are properly grounded.
- Professional Help: If you’re not comfortable working with electricity, hire a professional.
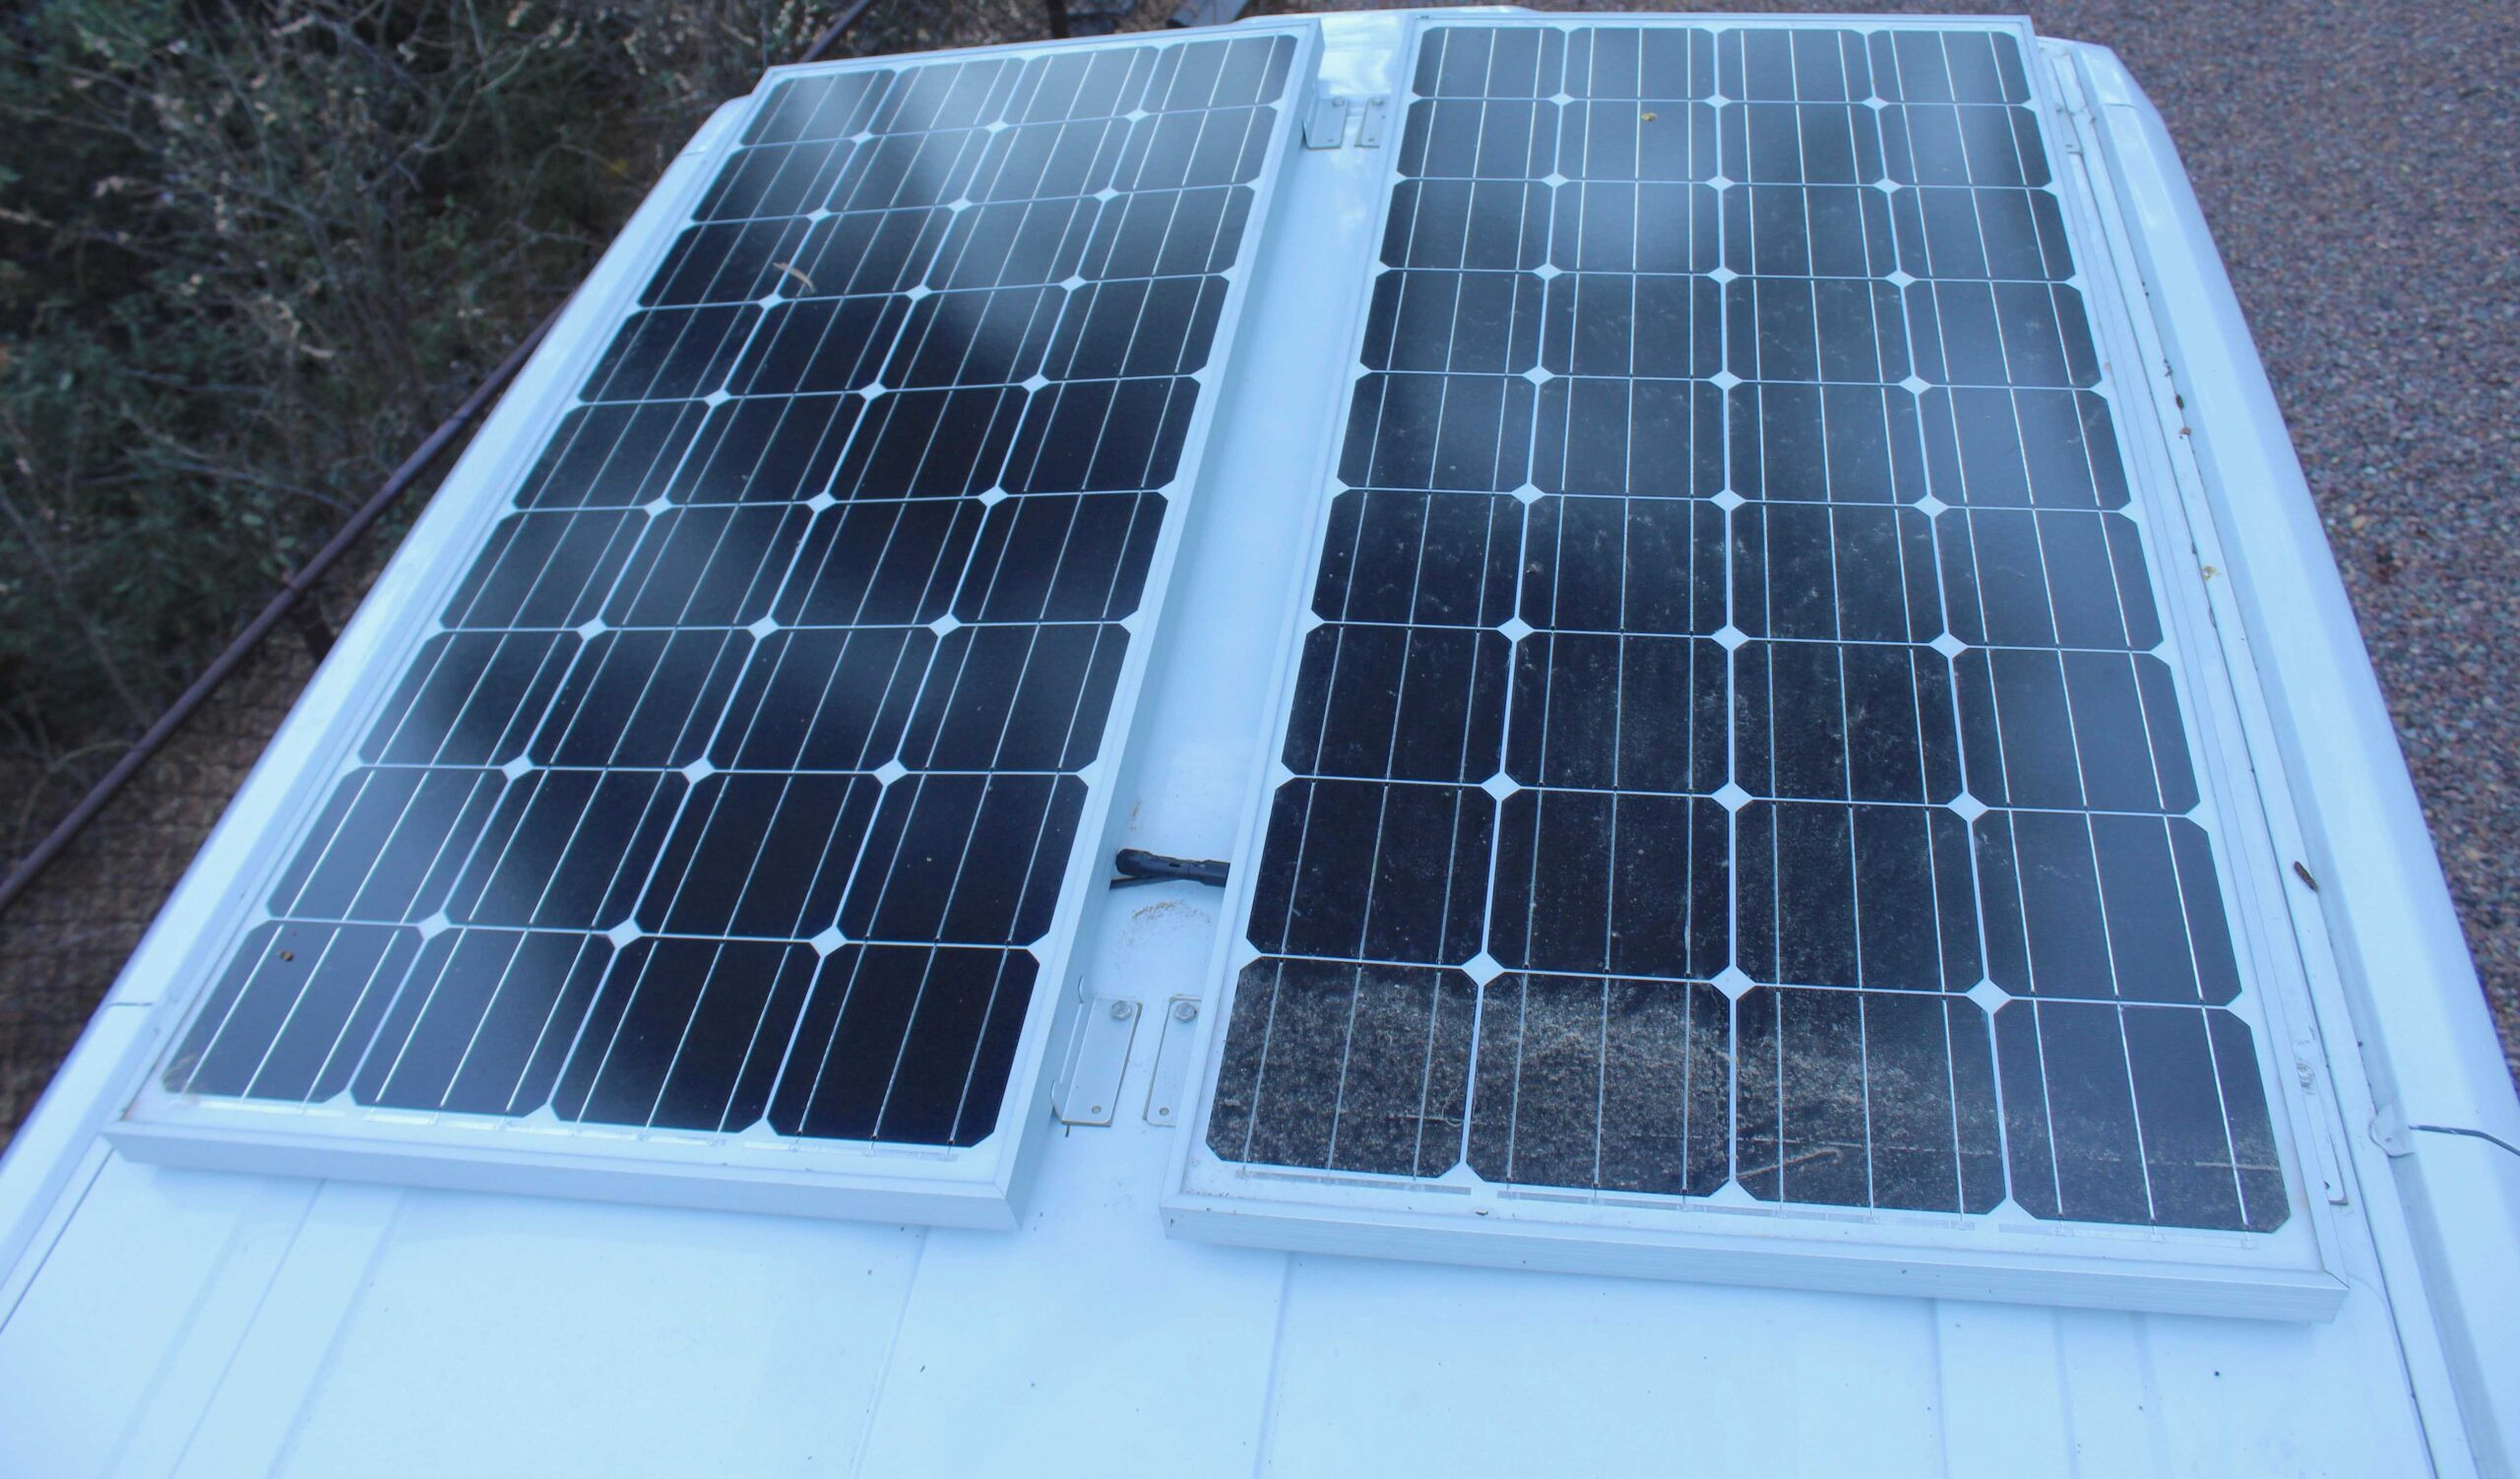 Installing solar panels on a travel van roof for off-grid power
8. Plumbing: Water On the Go
A plumbing system provides running water for washing, cooking, and showering.
8.1. Components of a Plumbing System
- Water Tank: Stores fresh water.
- Water Pump: Pumps water from the tank to the faucet.
- Sink: Provides a place to wash dishes and hands.
- Faucet: Dispenses water from the tank.
- Drainage: Carries wastewater to a gray water tank.
- Gray Water Tank: Stores wastewater.
8.2. Planning Your Plumbing System
- Determine Water Needs: Calculate how much water you’ll need for your travels.
- Choose Components: Select a water tank, pump, sink, and faucet that meet your needs.
- Plan the Layout: Determine the placement of your water tank, sink, and drainage system.
- Install Components: Mount the water tank, sink, and faucet in the van.
- Connect Plumbing: Connect all components with appropriate tubing and fittings.
- Testing: Test the plumbing system to ensure it functions correctly.
8.3. Water Conservation Tips
- Low-Flow Faucets: Use faucets that conserve water.
- Short Showers: Take shorter showers to reduce water consumption.
- Conserve Water: Be mindful of water usage when washing dishes and hands.
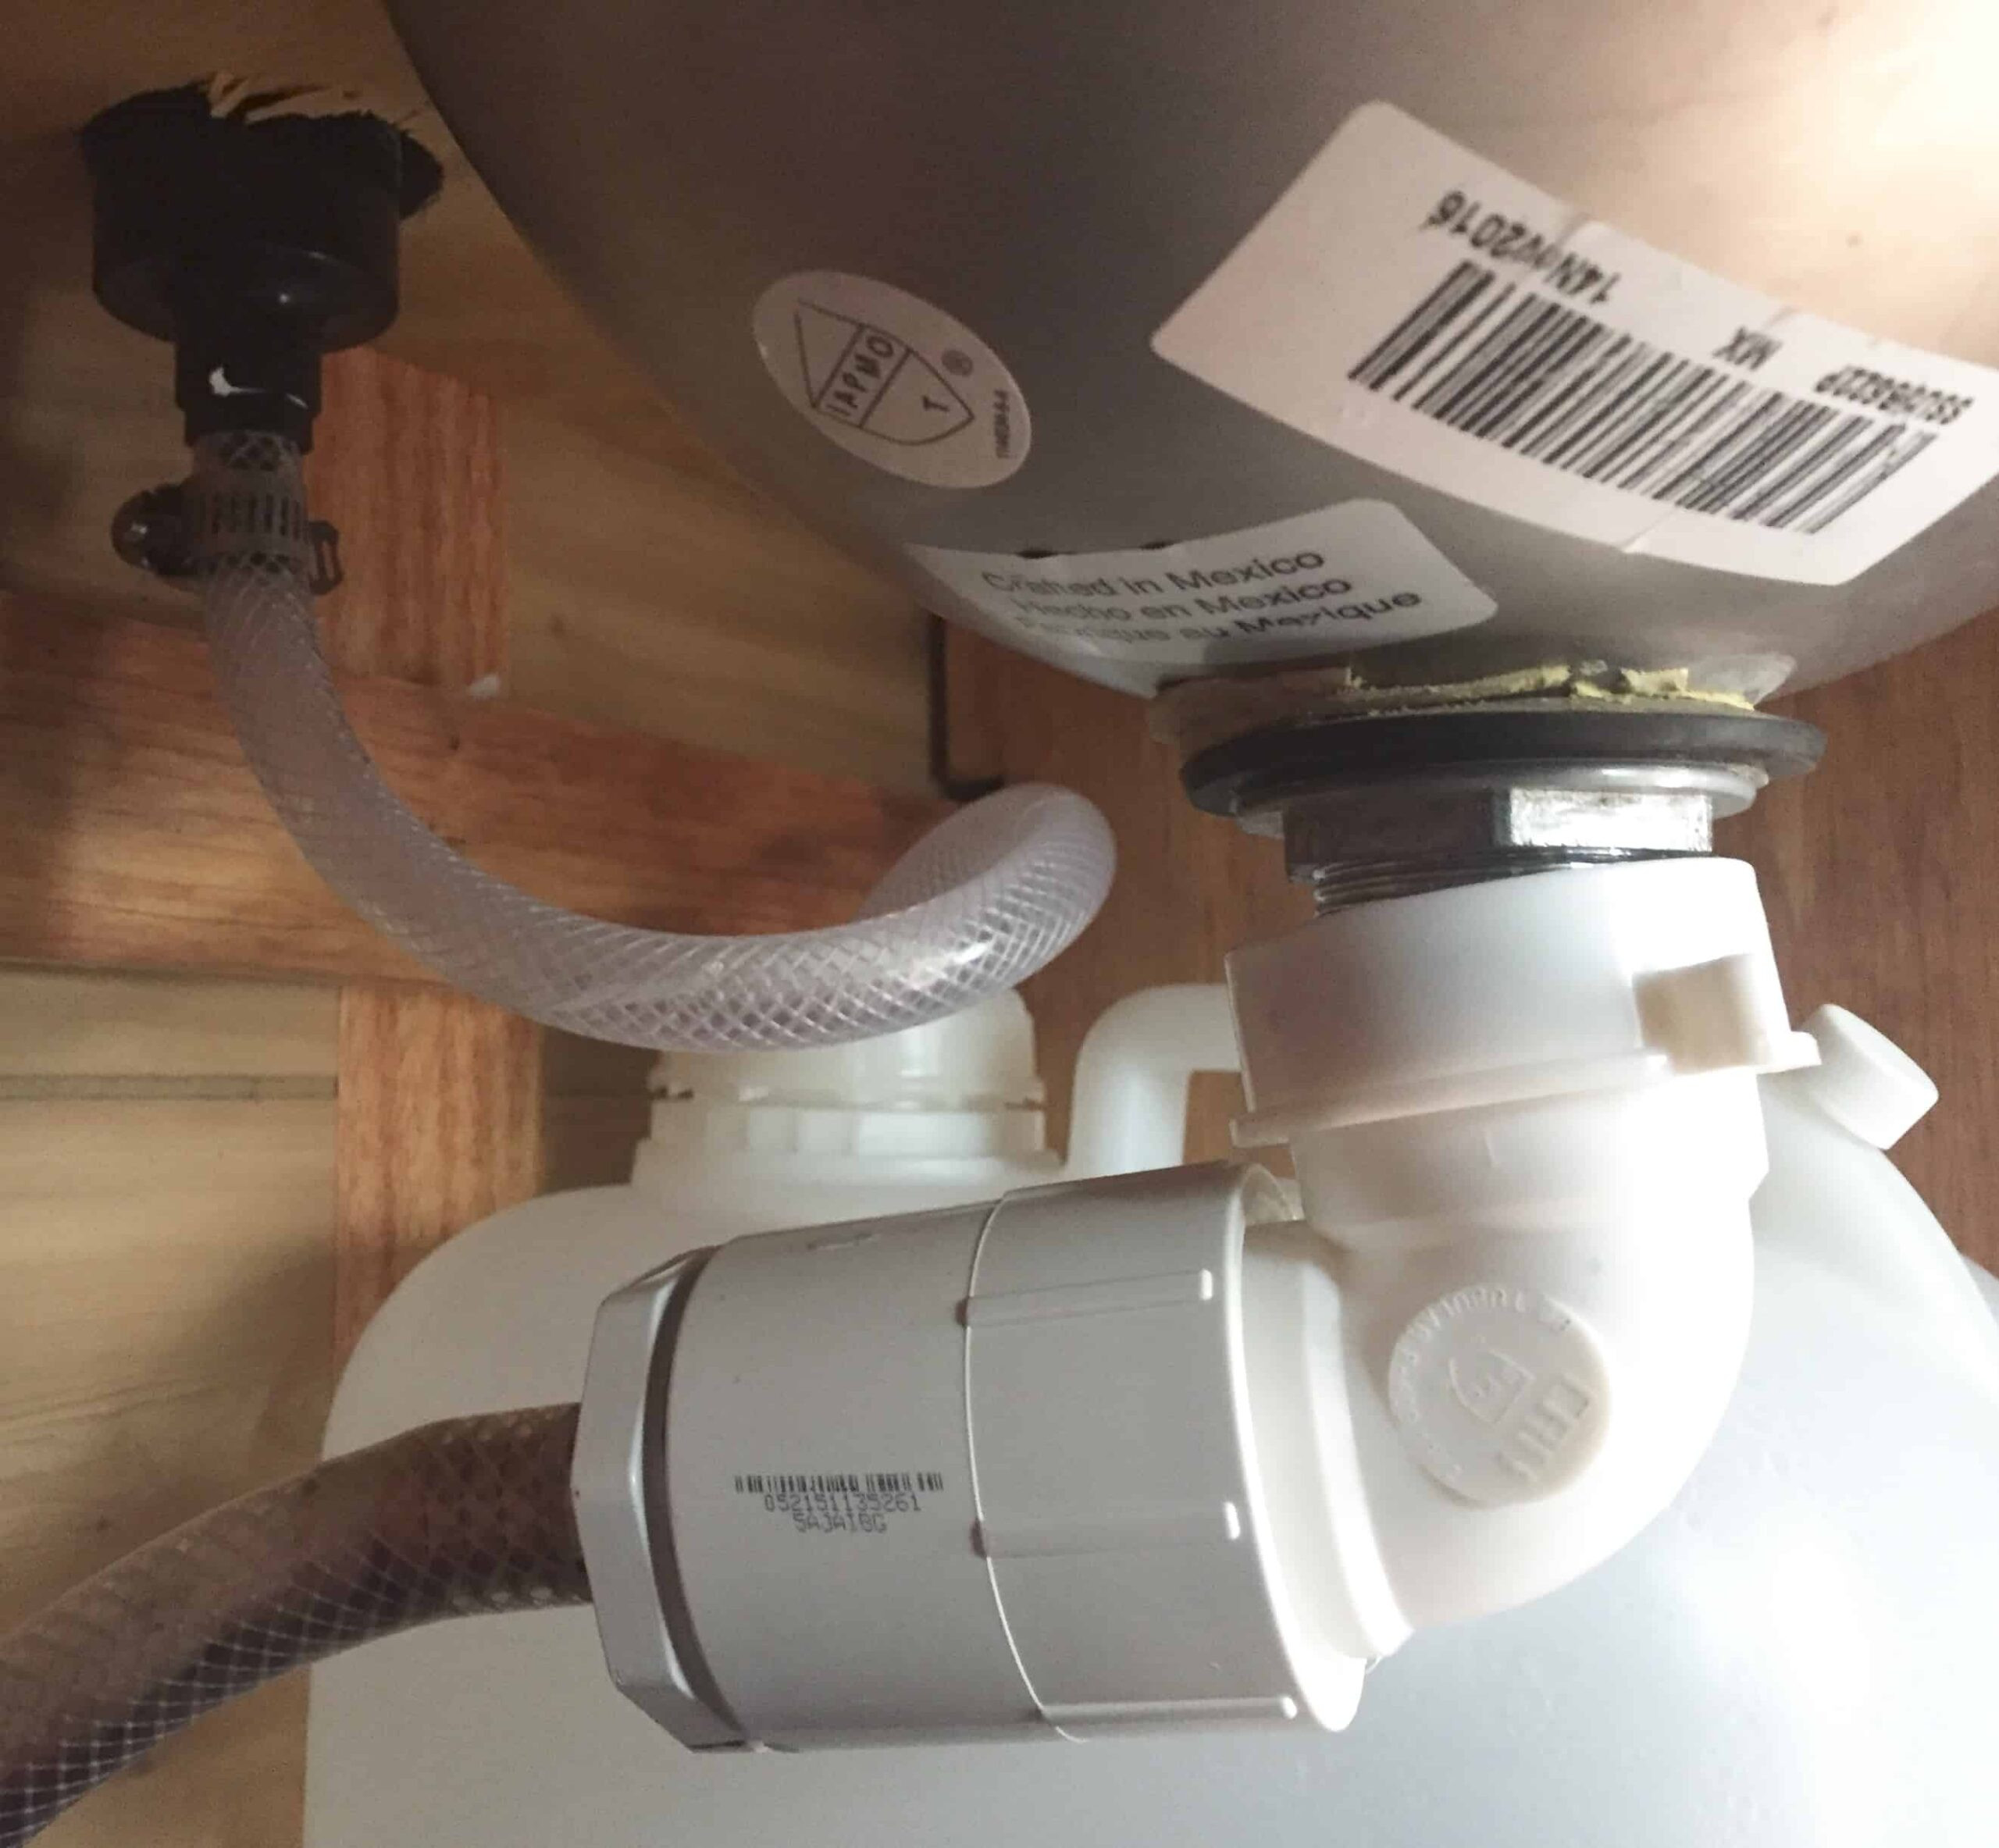 Van plumbing system with a water pump, containers, and sink
9. Kitchen Design: Cooking On the Road
A functional kitchen is essential for preparing meals on the go.
9.1. Essential Kitchen Appliances
- Refrigerator: Keeps food and beverages cold.
- Stove: Provides a way to cook meals.
- Sink: For washing dishes and hands.
- Countertop: Provides a surface for food preparation.
- Storage: For storing food, dishes, and cooking utensils.
9.2. Kitchen Layout Ideas
- Compact Kitchen: Ideal for small vans, maximizing space with a sink, stove, and refrigerator.
- Galley Kitchen: A narrow kitchen along one side of the van, providing efficient use of space.
- Open Kitchen: Integrates the kitchen with the living area, creating a social atmosphere.
9.3. Building a Kitchen
- Frame the Kitchen: Build a wooden frame to support the countertop and appliances.
- Install Countertop: Attach a countertop to the frame.
- Install Appliances: Mount the refrigerator, stove, and sink in the kitchen area.
- Add Storage: Install shelves, cabinets, and drawers for storing kitchen supplies.
- Finishing Touches: Add lighting and decorative elements to create a functional and inviting kitchen space.
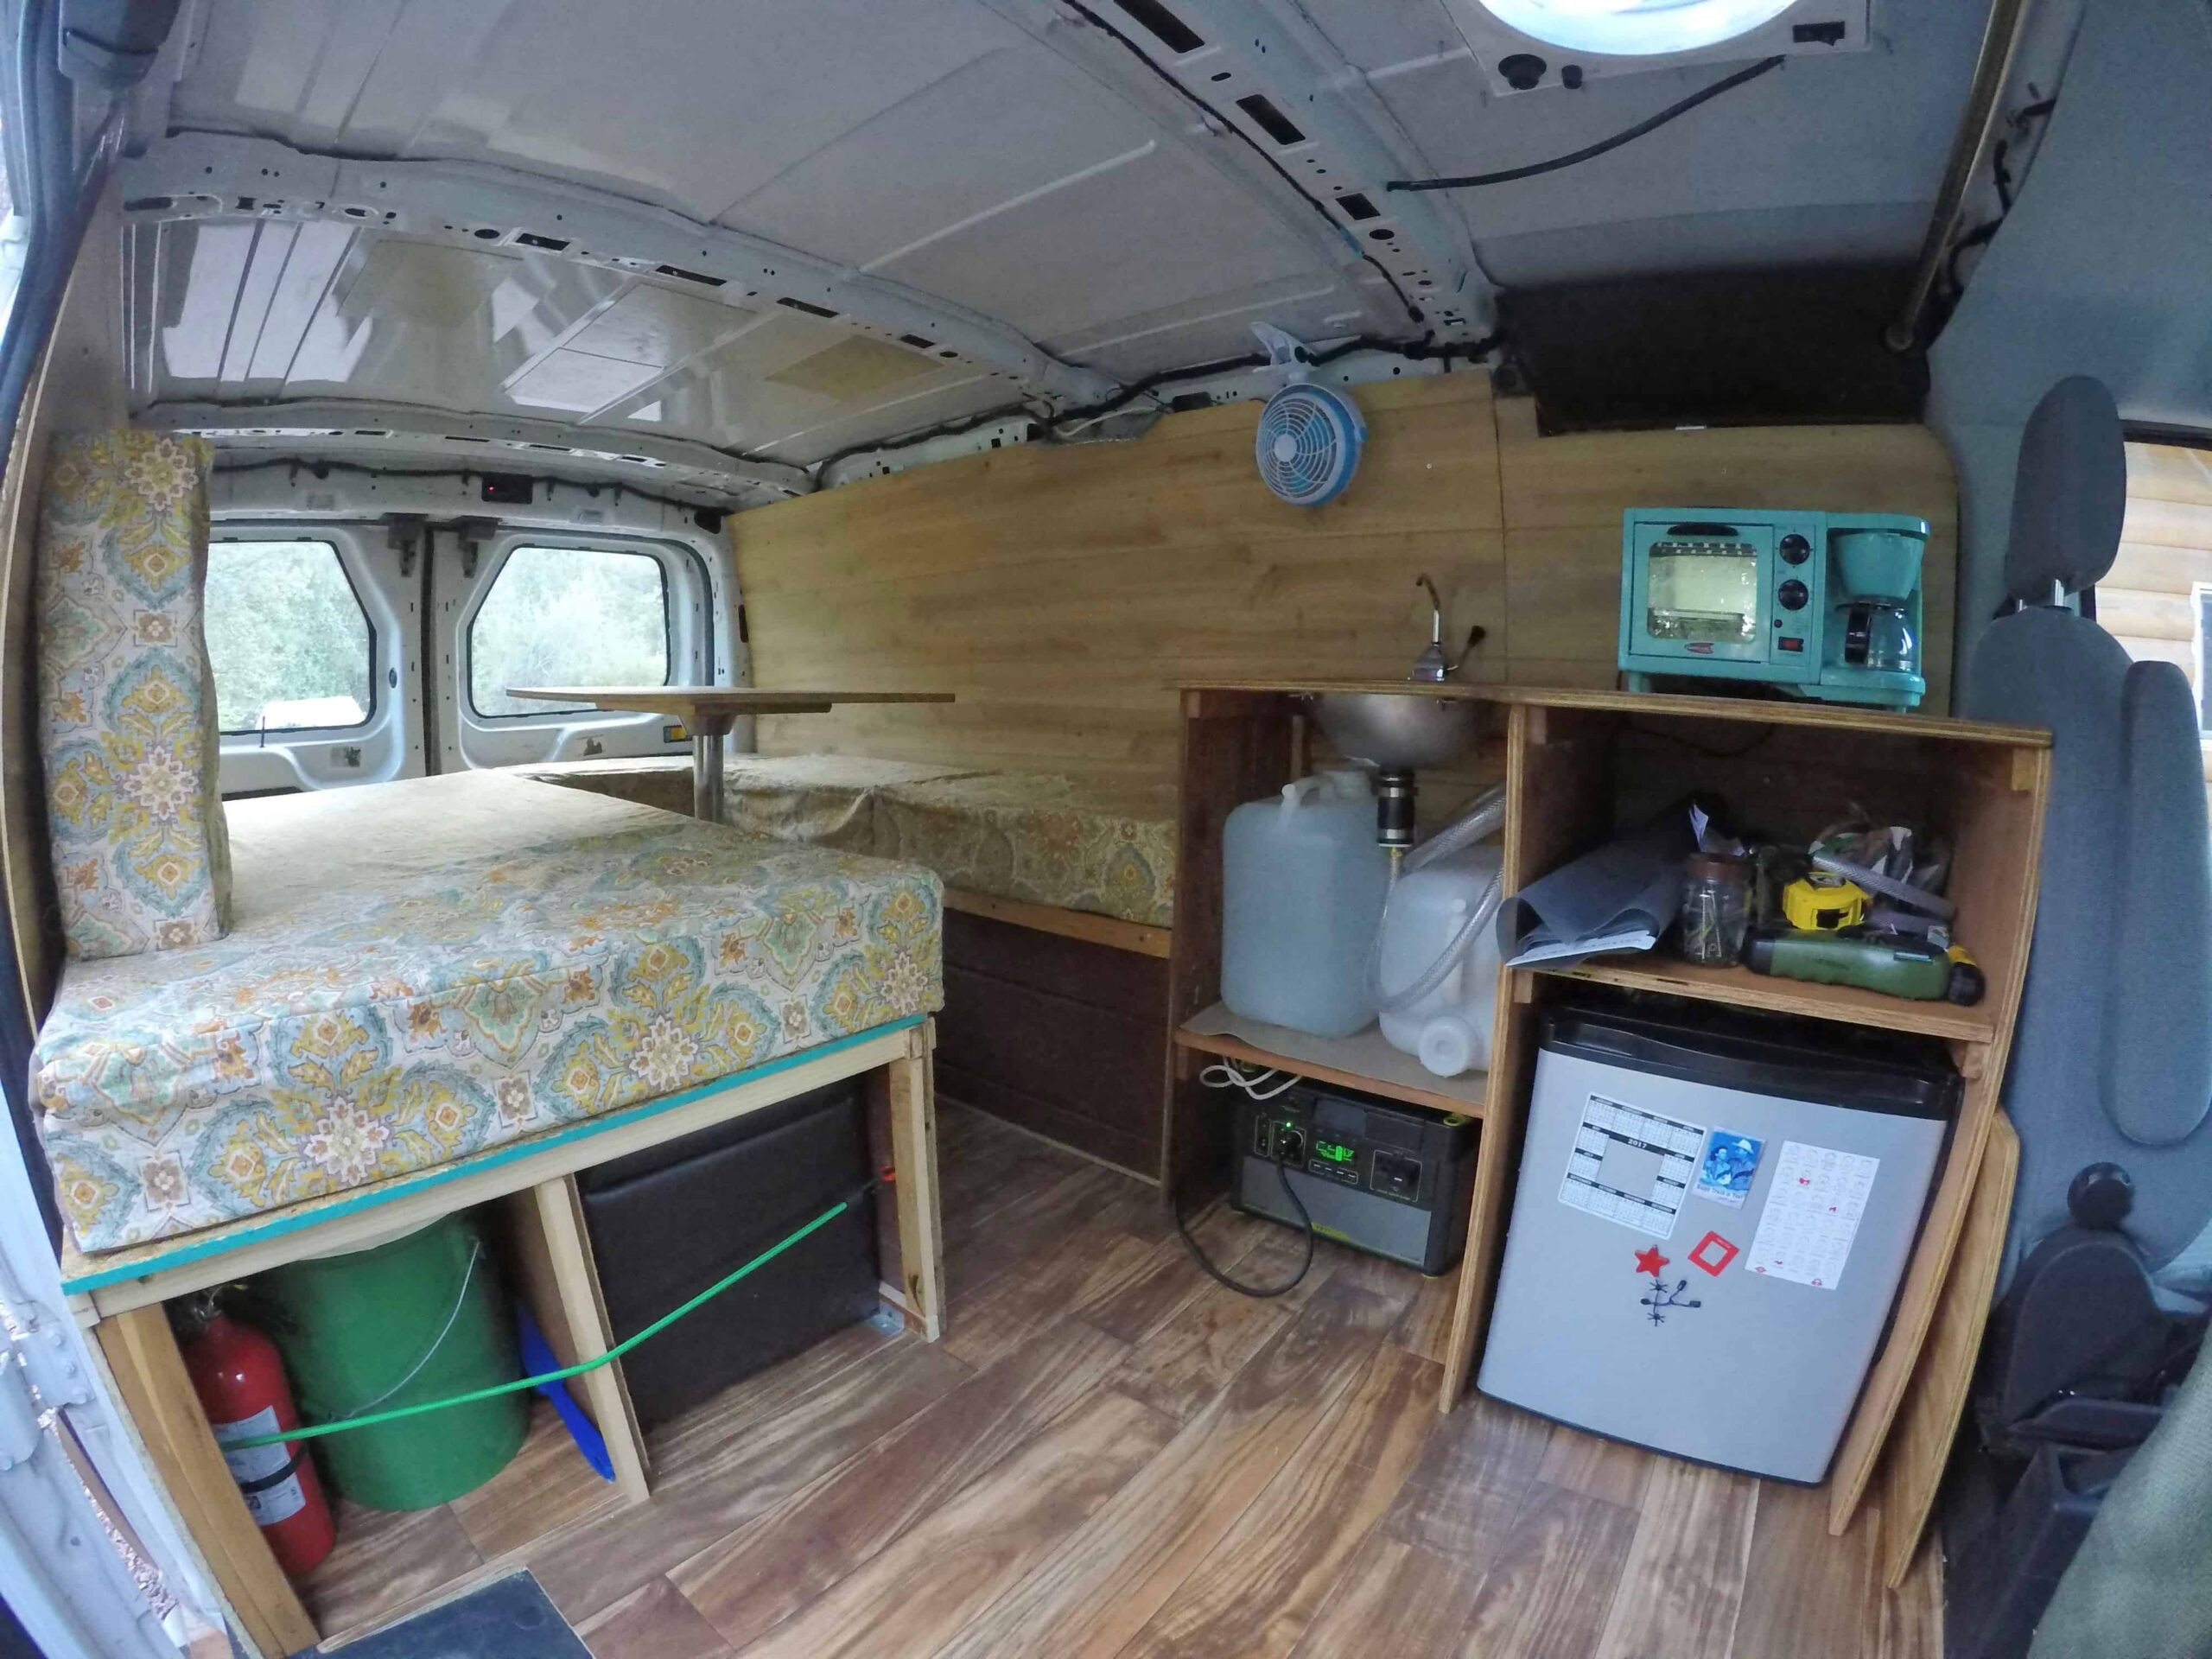 Installed kitchen in a travel van, featuring a fridge, sink, and breakfast center
10. Bed and Seating: Comfort and Rest
A comfortable bed and seating area are essential for relaxing and sleeping in your travel van.
10.1. Bed Options
- Fixed Bed: A permanent bed that’s always ready for sleep.
- Convertible Bed: A seating area that converts into a bed.
- Bunk Beds: Ideal for families, maximizing sleeping space.
10.2. Seating Options
- Bench Seats: Provide comfortable seating and storage space.
- Swivel Seats: Allow you to rotate the driver and passenger seats to face the living area.
- Captain’s Chairs: Provide comfortable seating for long drives.
10.3. Building a Bed and Seating Area
- Frame the Bed: Build a wooden frame to support the mattress.
- Add Mattress: Place a comfortable mattress on the frame.
- Build Seating: Construct bench seats or install swivel seats.
- Add Cushions: Place cushions on the seating area for added comfort.
- Finishing Touches: Add curtains, pillows, and blankets to create a cozy sleeping and seating area.
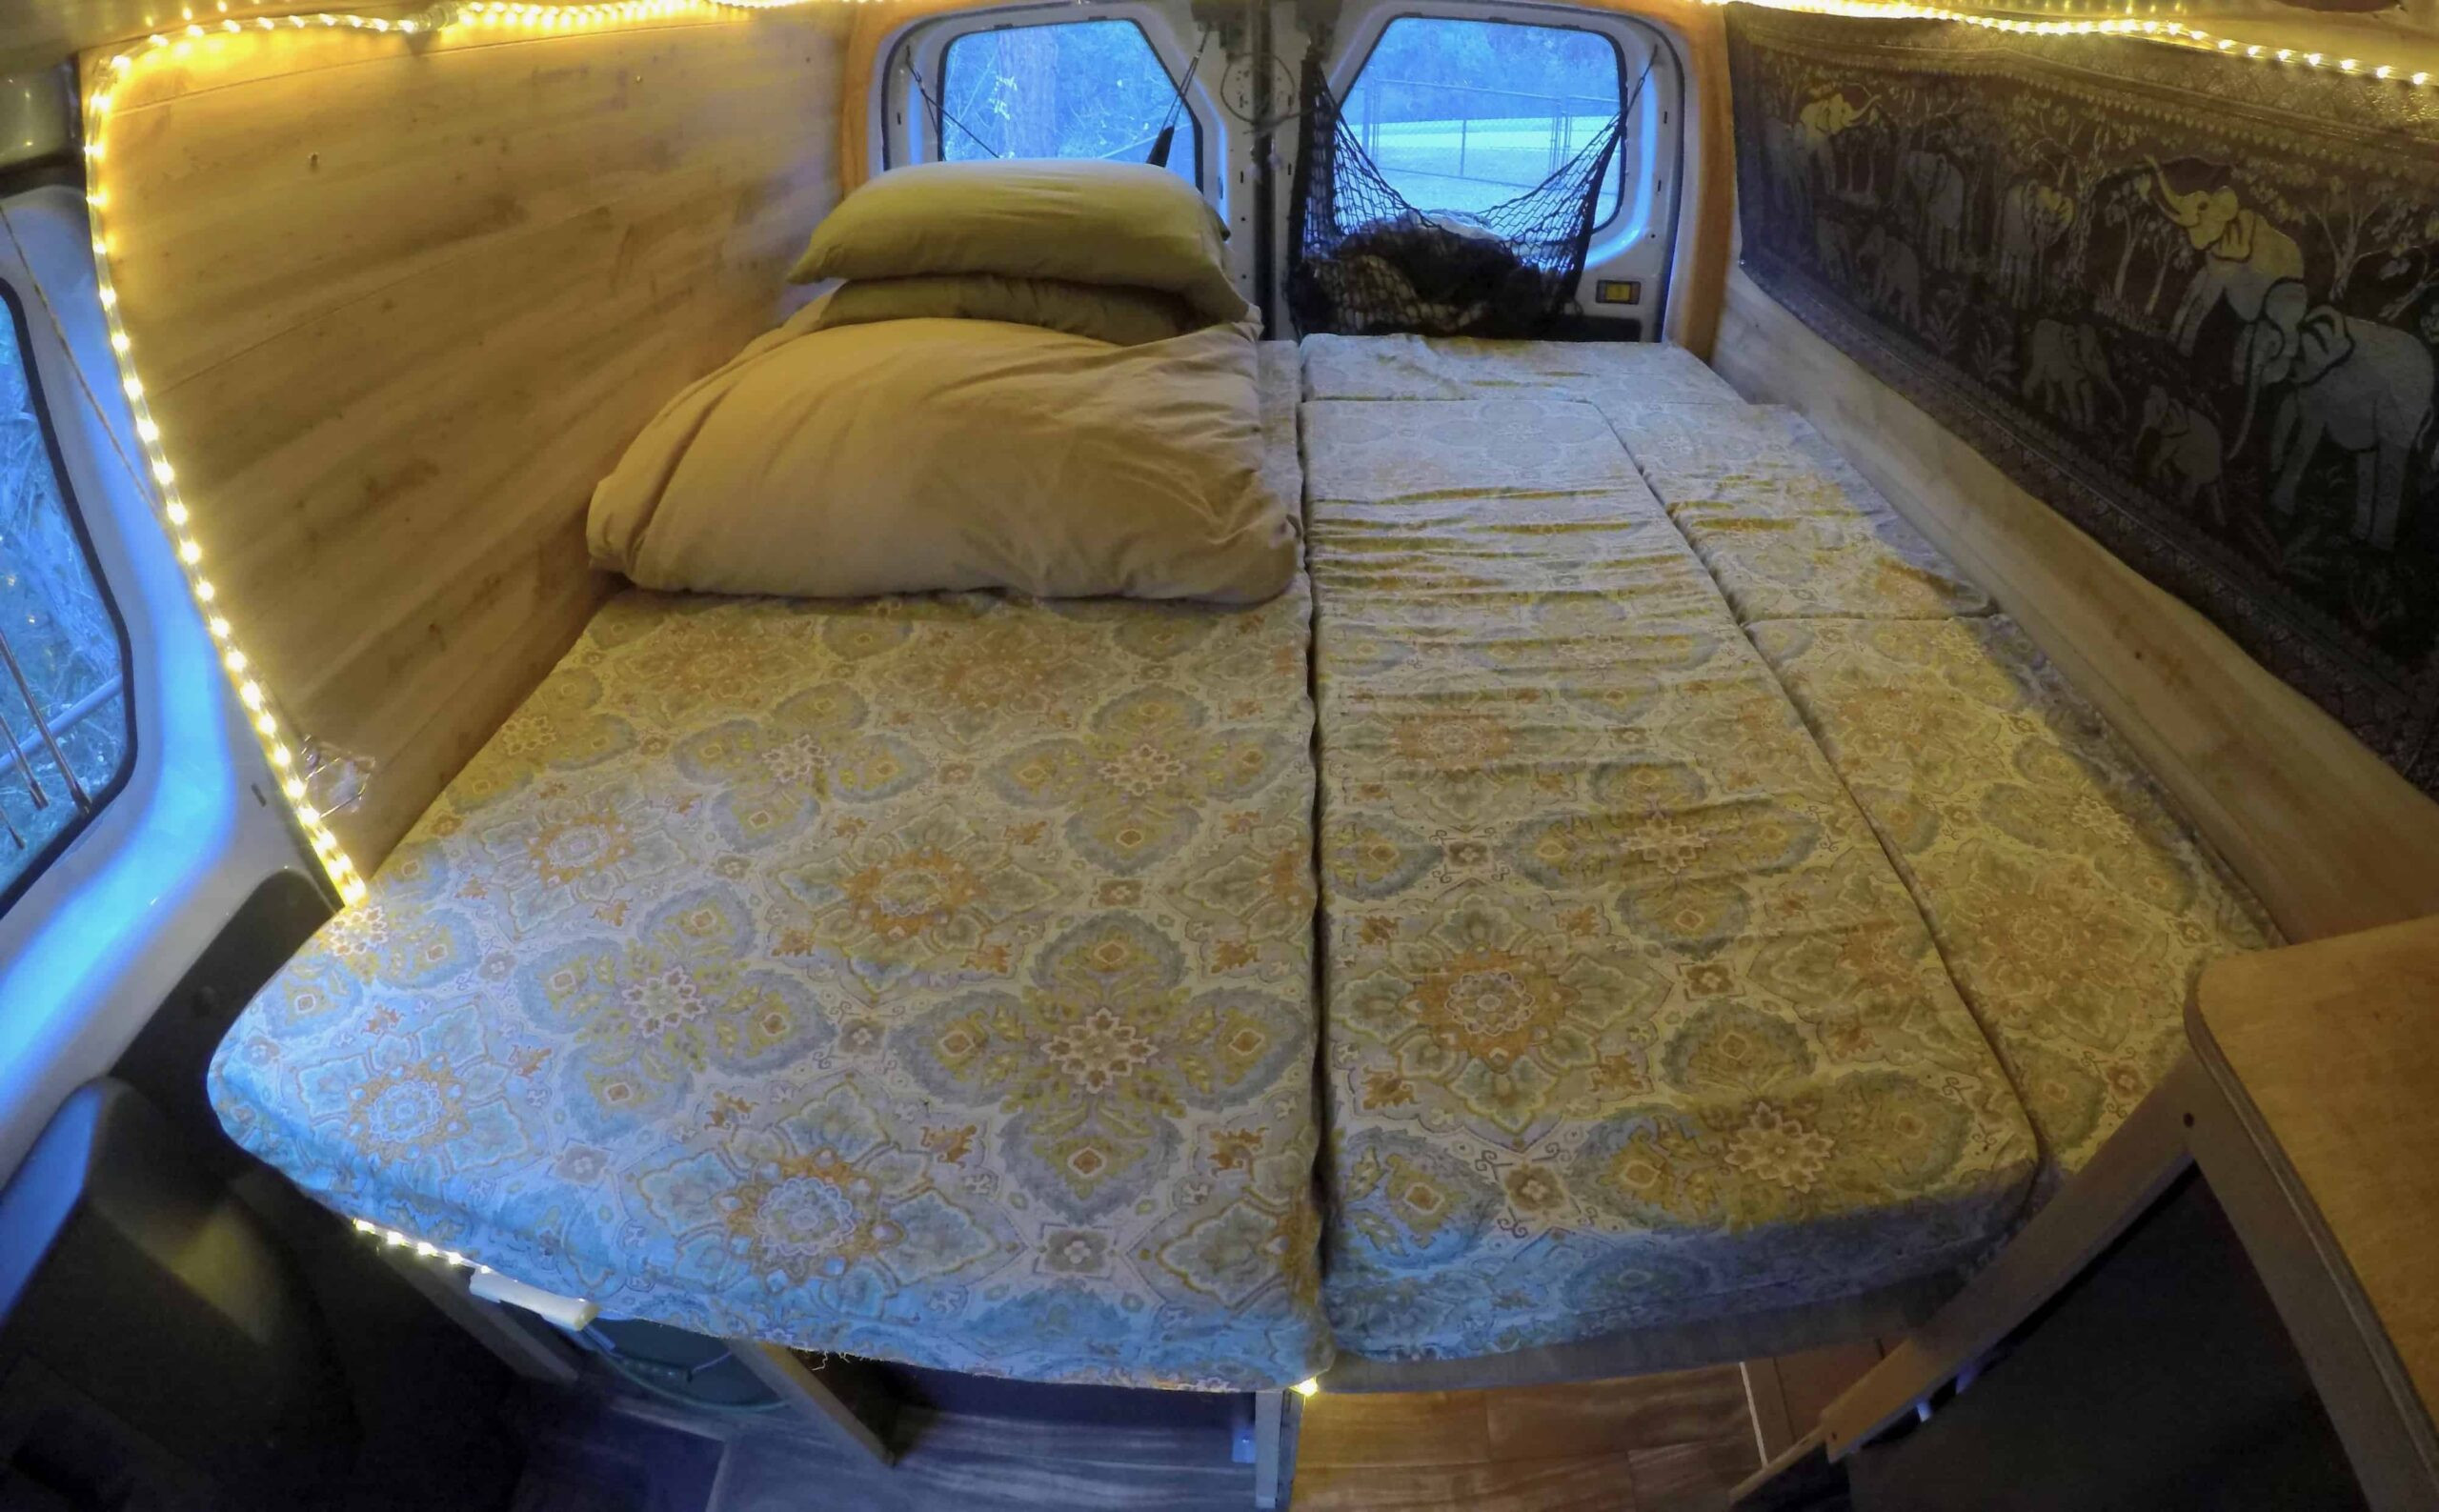 Van bed setup using a memory foam mattress cut into five cushions
11. Ventilation: Keeping the Air Fresh
Proper ventilation is crucial for preventing condensation and maintaining air quality.
11.1. Ventilation Options
- Roof Fans: Exhaust stale air and bring in fresh air.
- Windows: Provide natural light and ventilation.
- Vents: Allow air to circulate even when the van is closed.
11.2. Installing Ventilation
- Choose Ventilation Locations: Determine the best locations for roof fans, windows, and vents.
- Cut Openings: Cut openings in the van’s roof or walls for ventilation.
- Install Ventilation: Mount roof fans, windows, and vents in the openings.
- Seal Openings: Seal openings with caulk to prevent leaks.
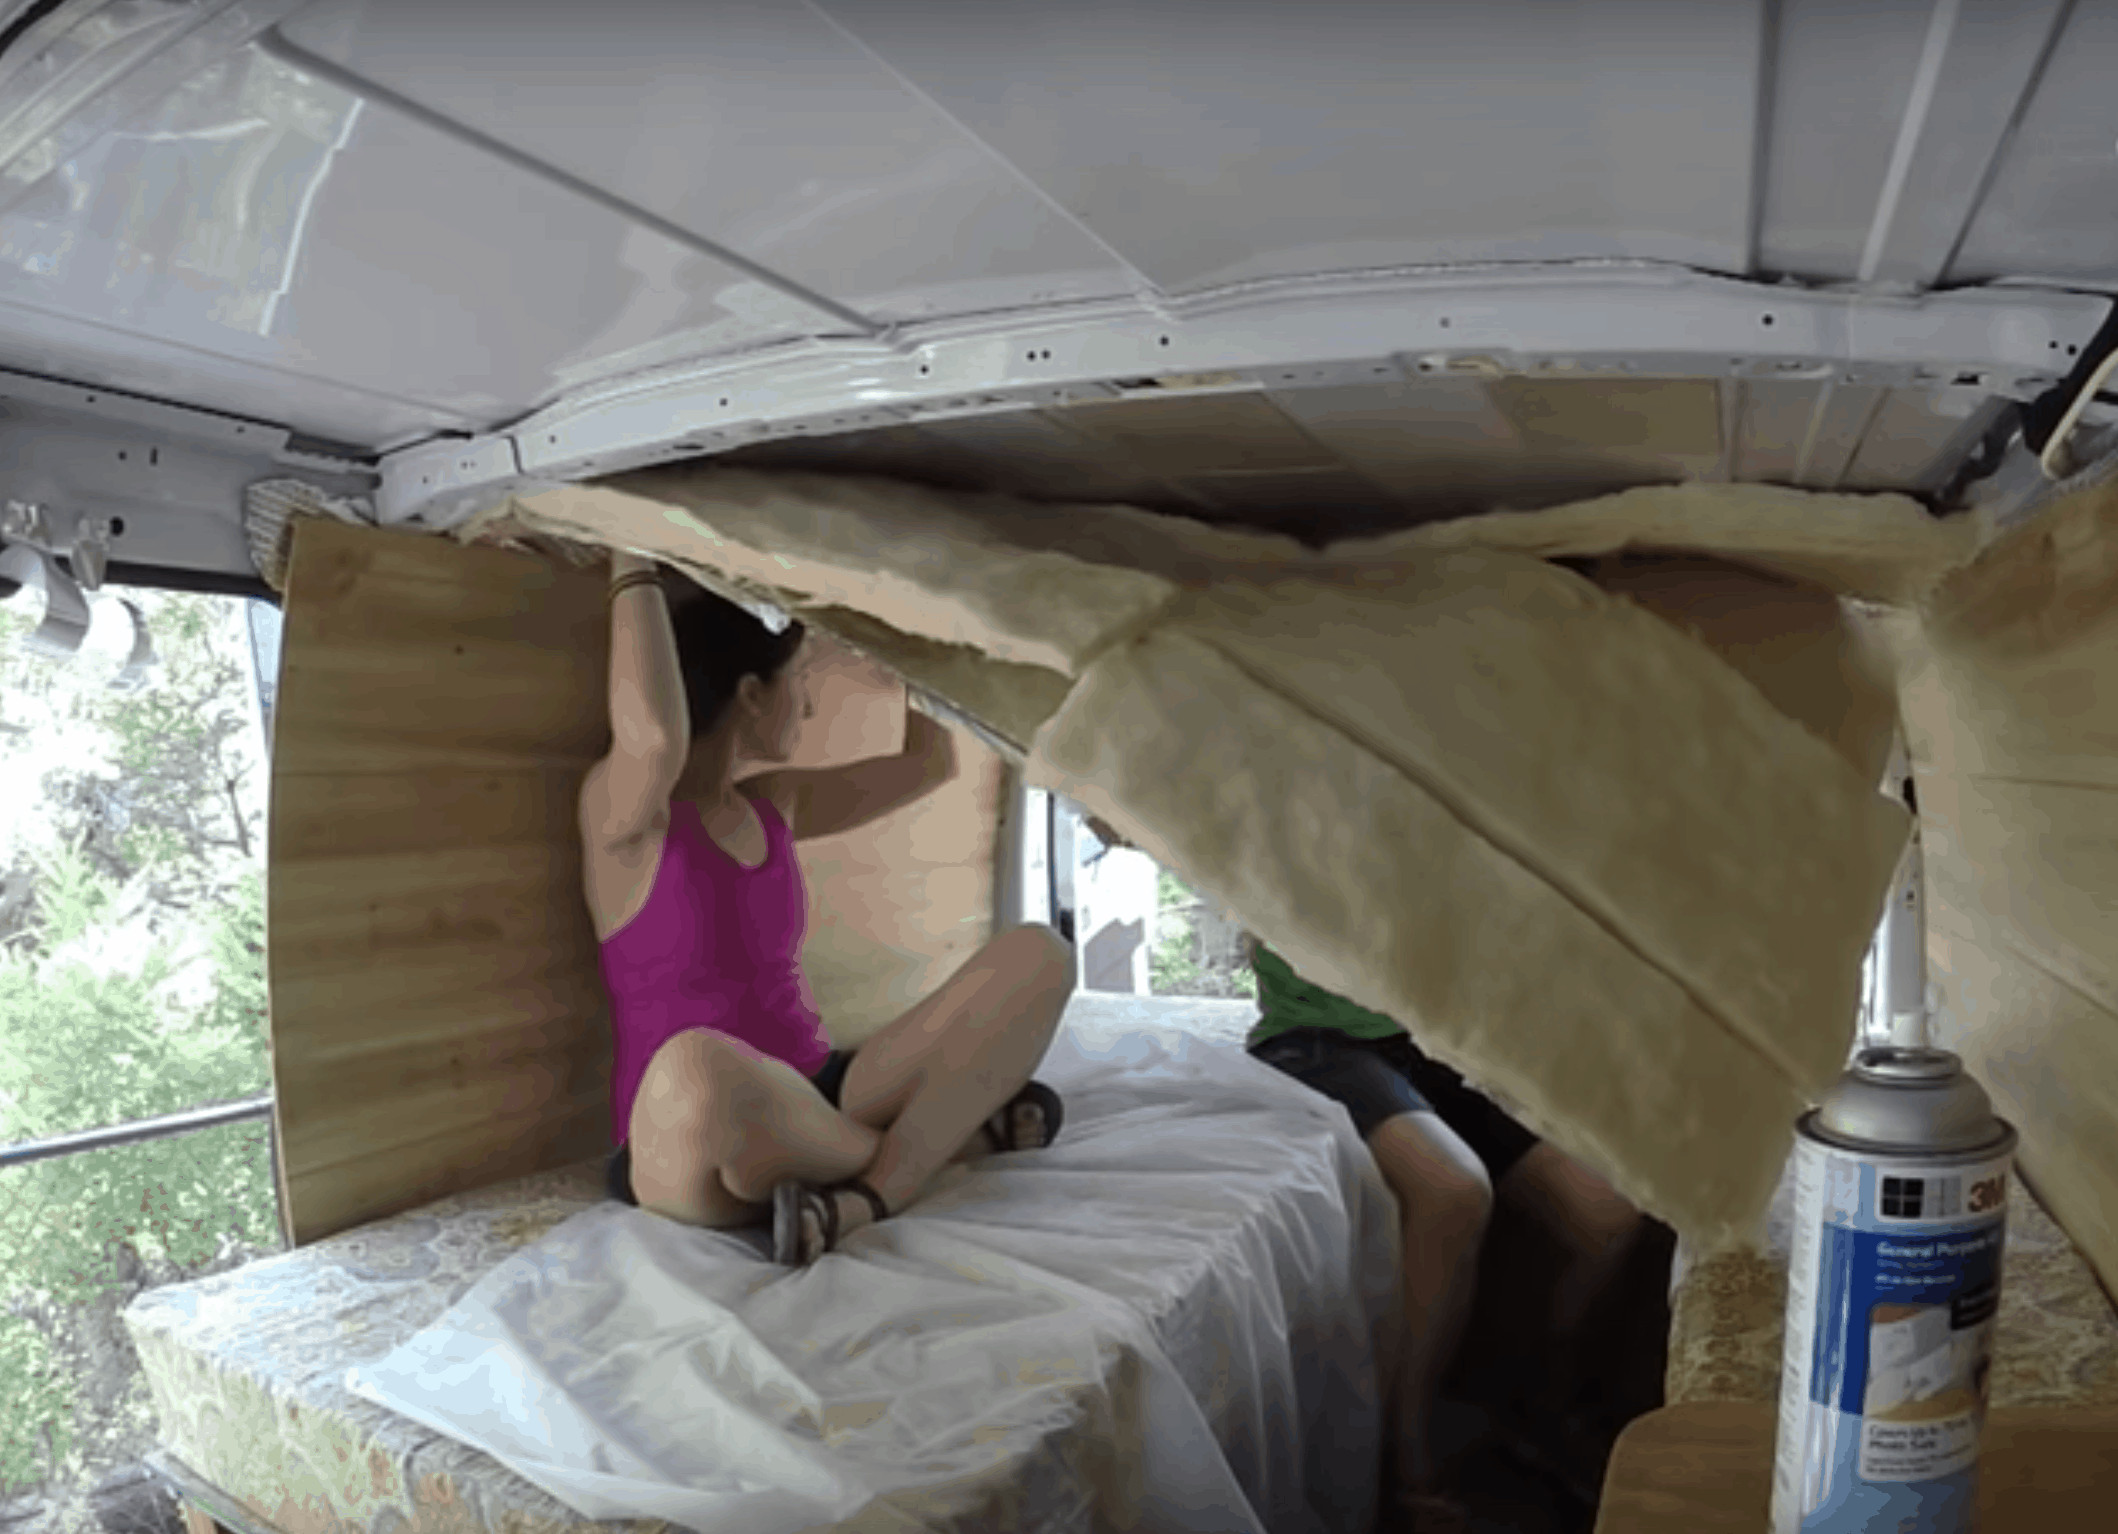 Insulating the roof of a van before installing ventilation
12. Storage Solutions: Maximizing Space
Efficient storage solutions are essential for keeping your travel van organized.
12.1. Storage Ideas
- Overhead Cabinets: Maximize vertical space with overhead cabinets.
- Under-Bed Storage: Utilize the space under the bed for storing bulky items.
- Drawer Systems: Keep clothes and personal items organized.
- Wall-Mounted Shelves: Store books, decorations, and small items.
12.2. Building Storage
- Plan Storage Locations: Determine the best locations for cabinets, drawers, and shelves.
- Build Frames: Build wooden frames to support storage units.
- Install Storage Units: Mount cabinets, drawers, and shelves in the van.
- Add Hardware: Install hinges, latches, and handles for easy access.
- Finishing Touches: Add baskets, bins, and organizers to maximize storage space.
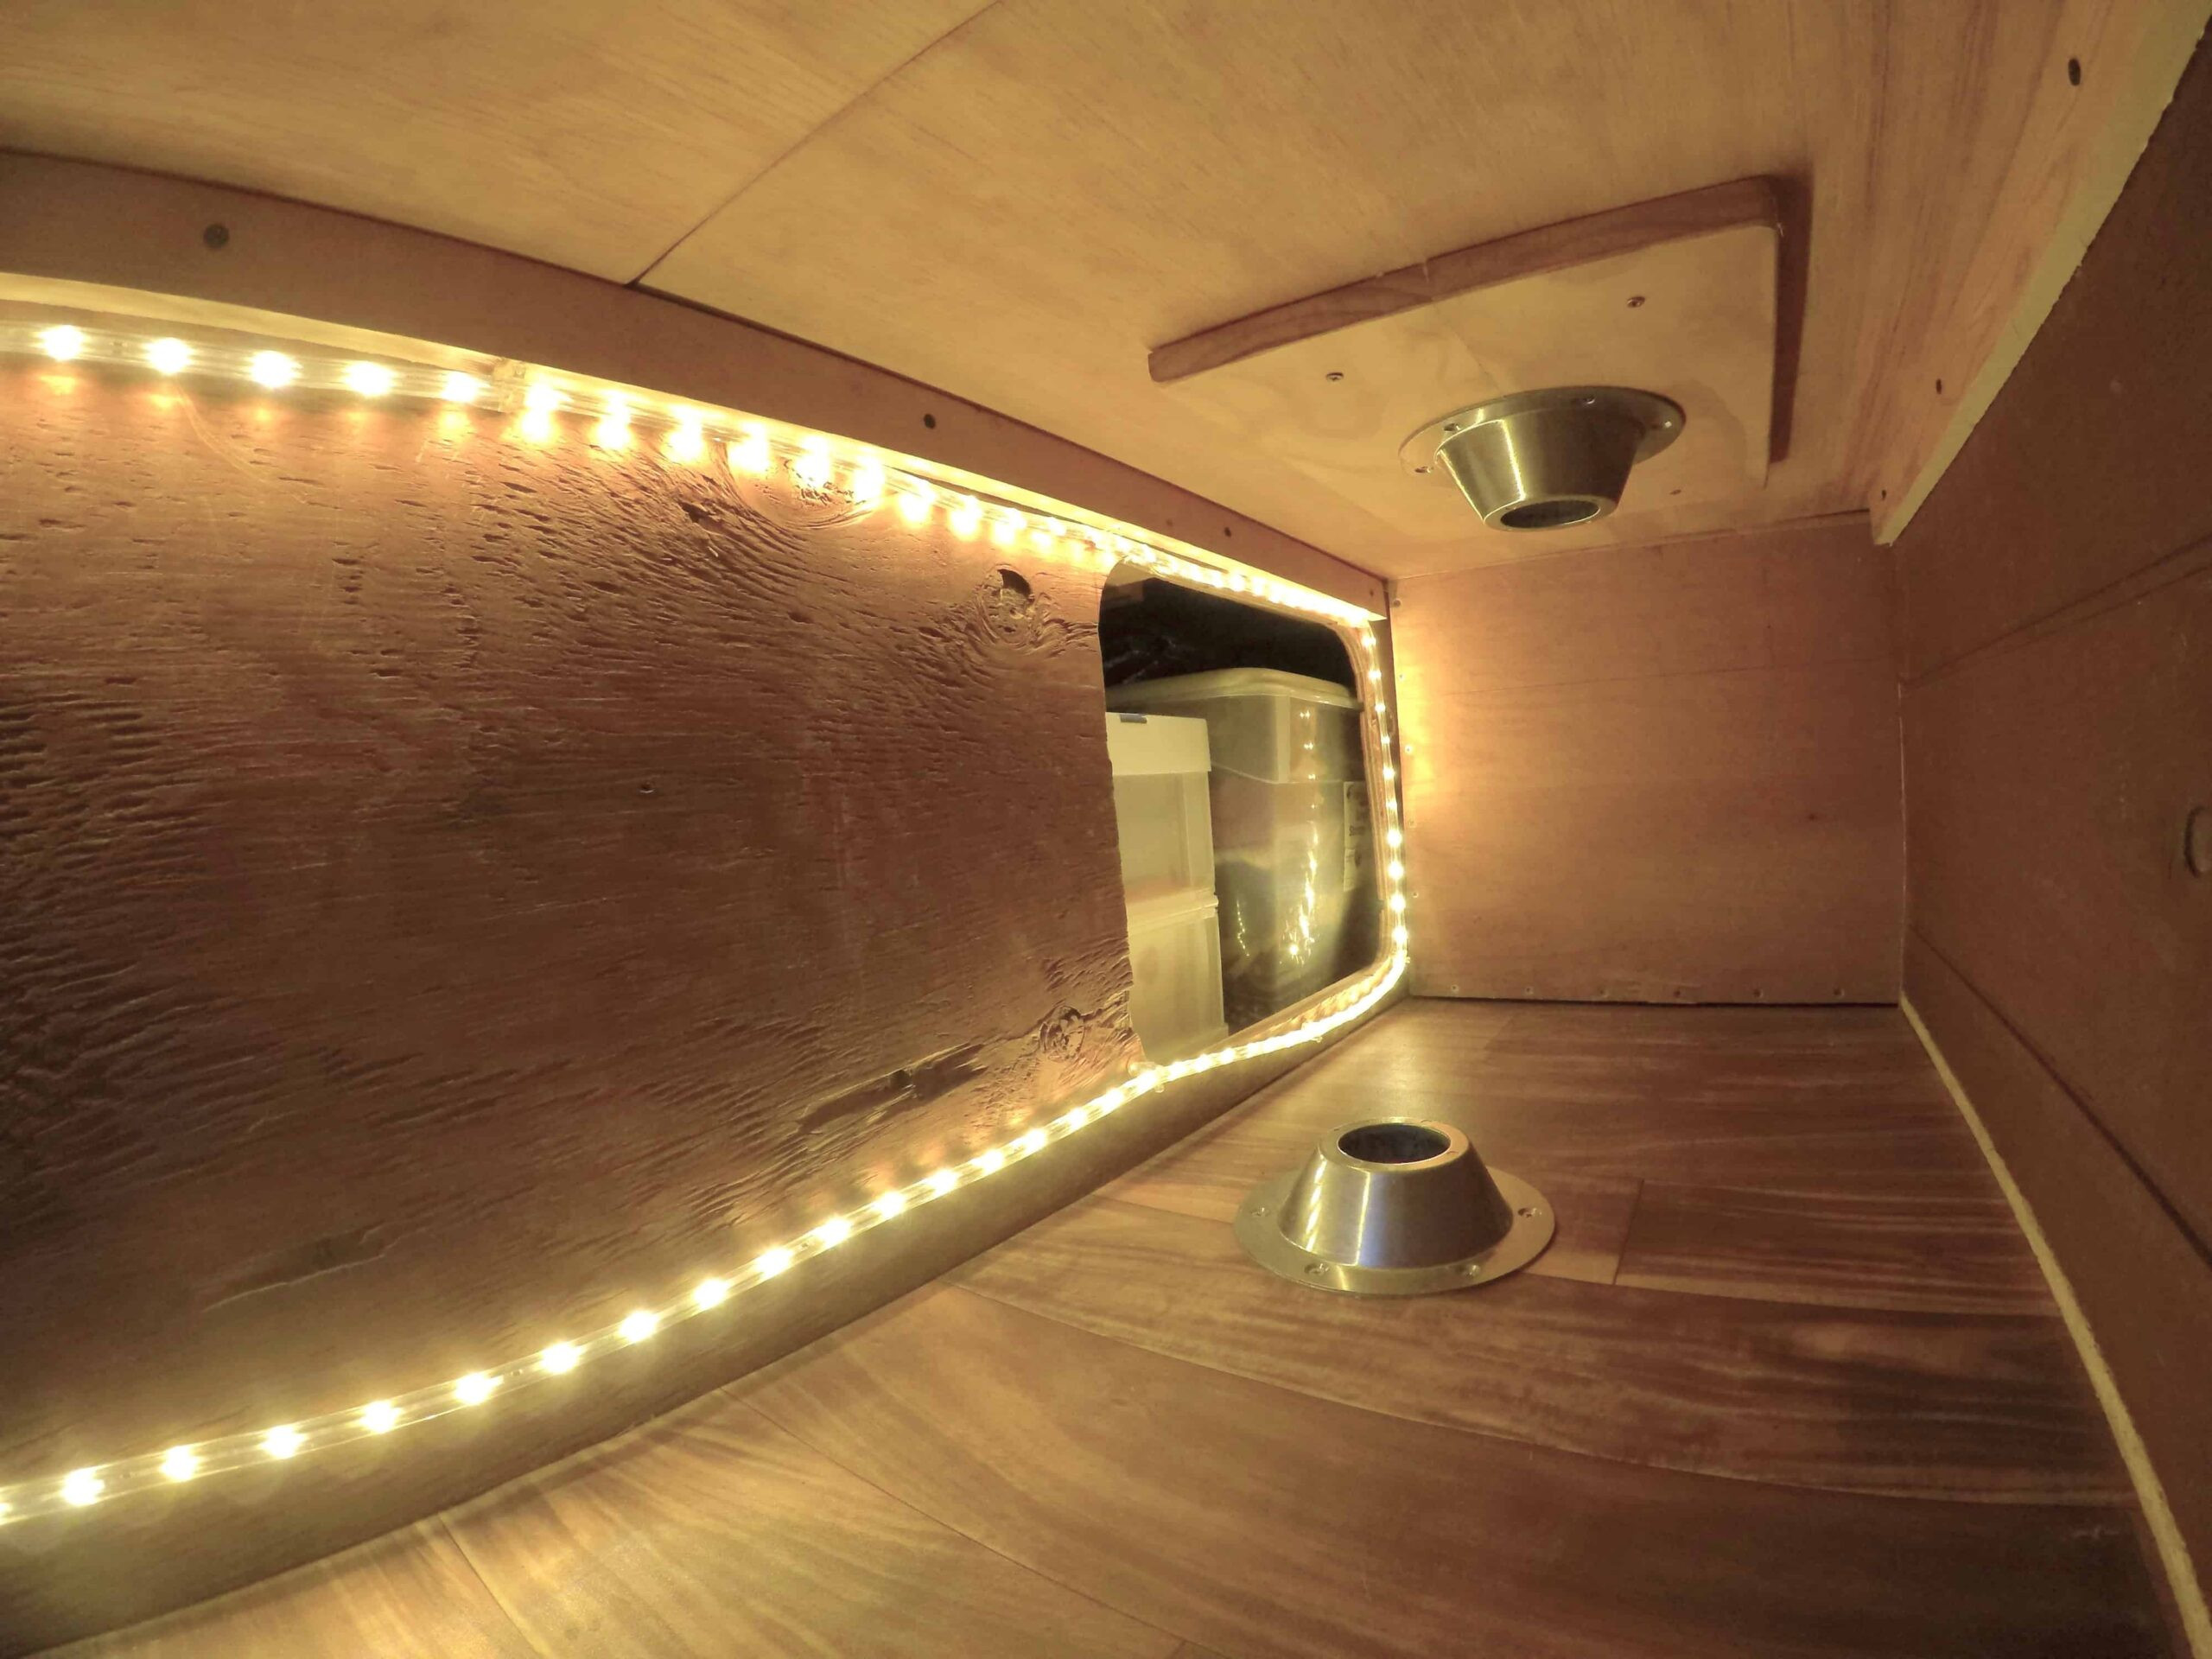 Under-bed storage opening in a van conversion
13. Interior Design: Making It Home
Adding personal touches to your travel van creates a comfortable and inviting space.
13.1. Design Ideas
- Color Scheme: Choose a color scheme that reflects your personal style.
- Textiles: Add curtains, pillows, and blankets to create a cozy atmosphere.
- Lighting: Install warm LED lights for ambiance and energy efficiency.
- Decor: Add artwork, plants, and personal items to make the space your own.
13.2. Decorating Your Van
- Choose a Theme: Select a design theme that reflects your travel style.
- Add Personal Touches: Incorporate artwork, photos, and mementos from your travels.
- Create a Cozy Atmosphere: Use soft lighting, comfortable textiles, and warm colors to create a relaxing space.
- Maximize Space: Use space-saving furniture and storage solutions to keep the van organized.
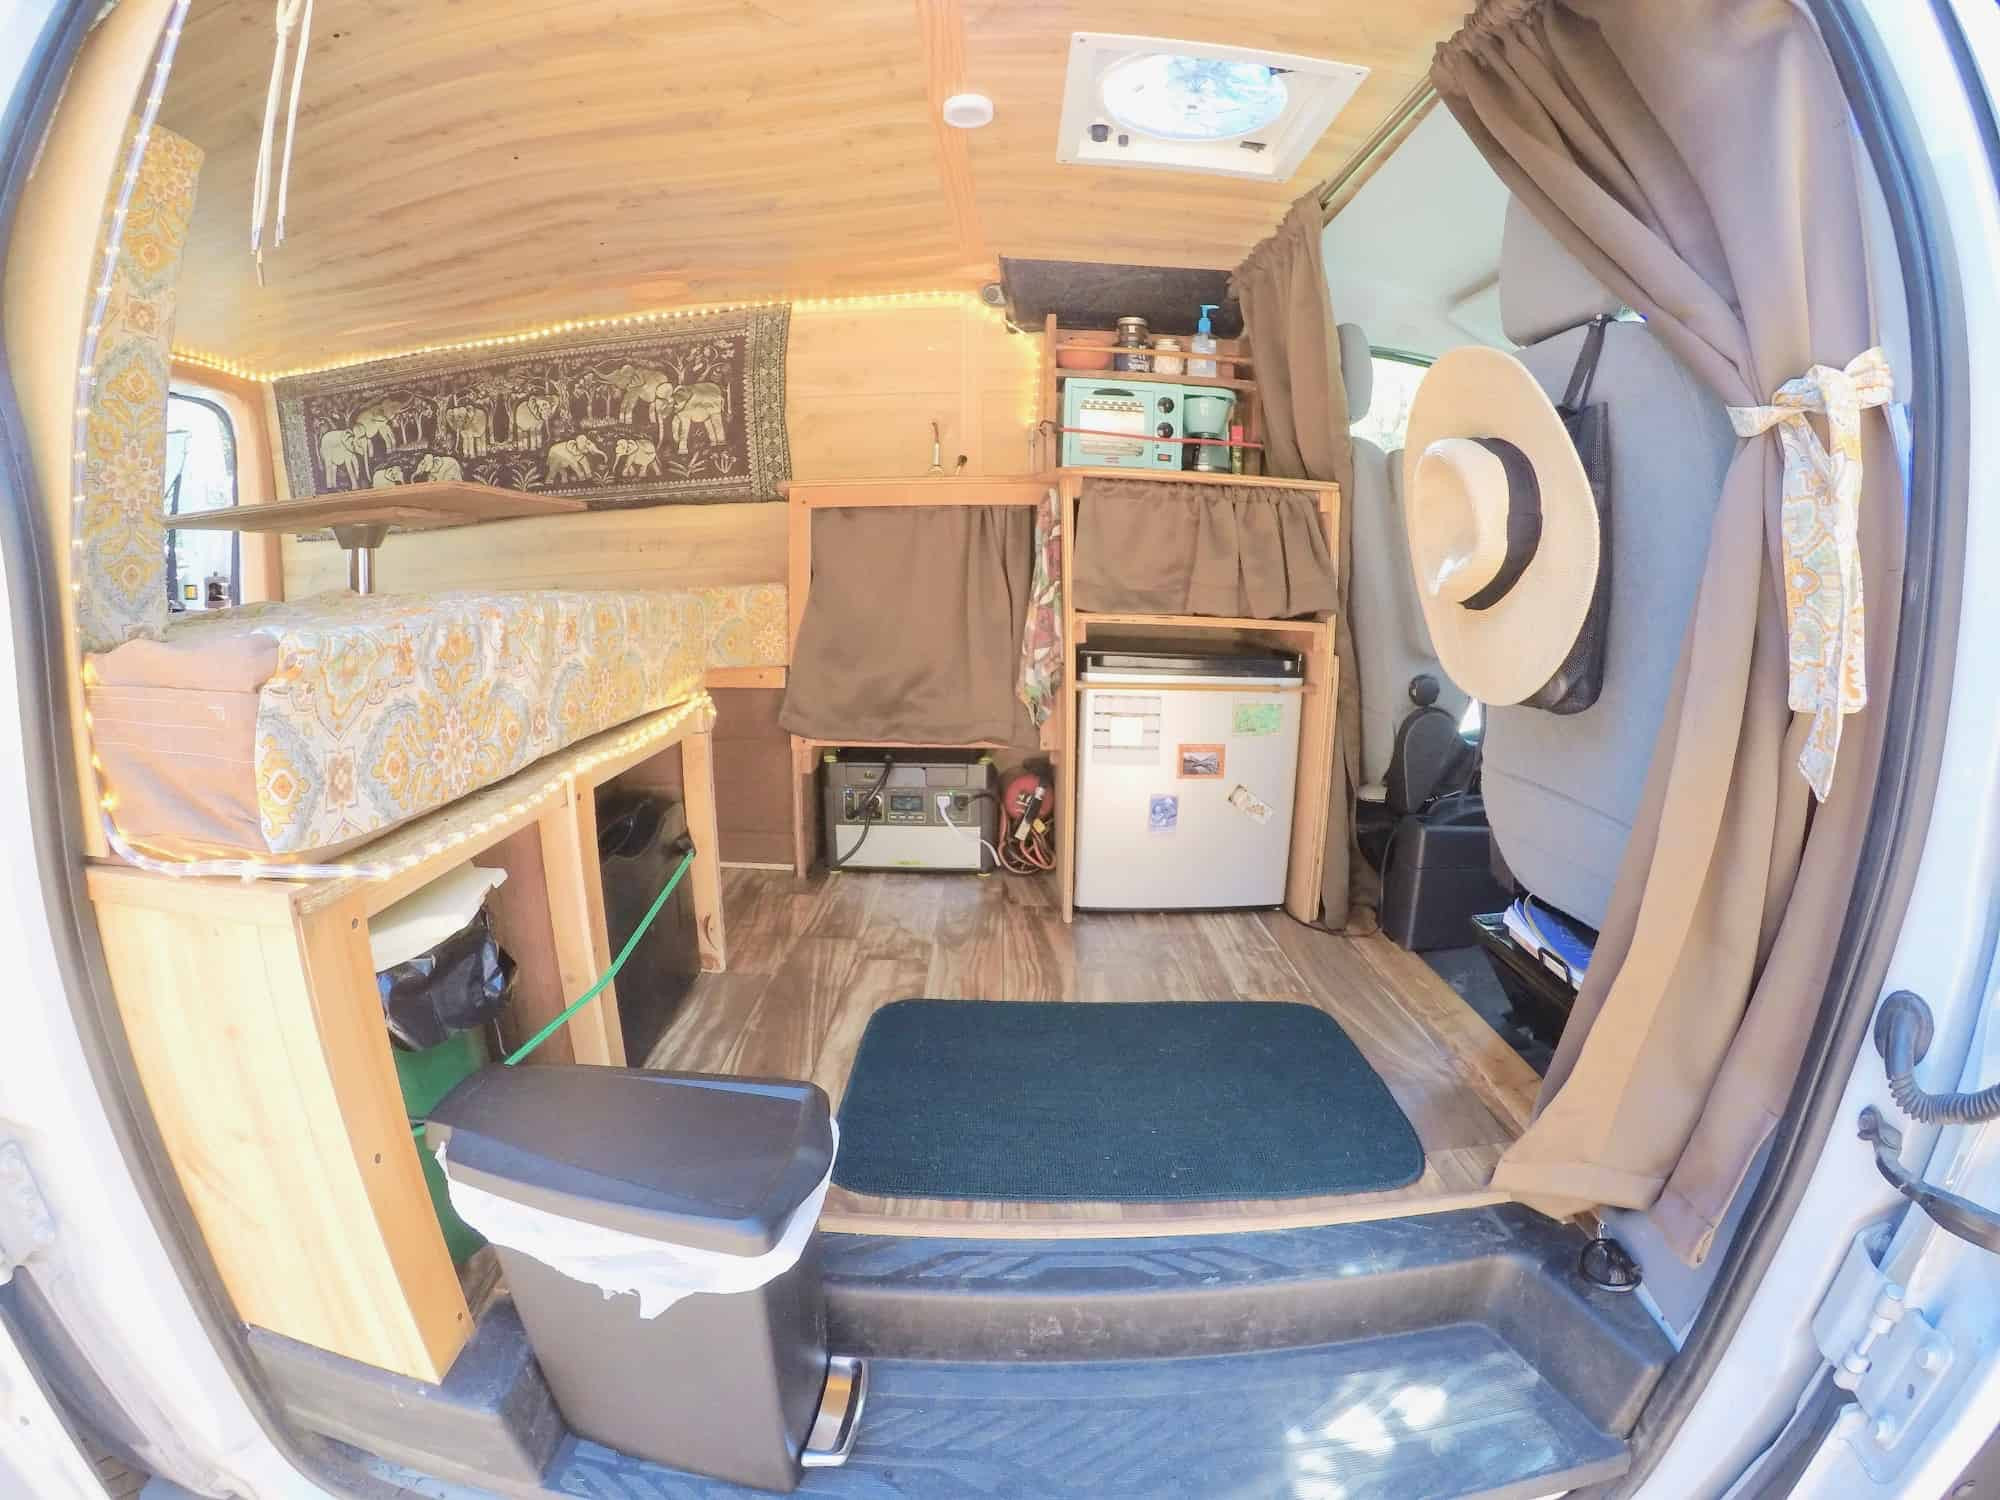 Van interior with blackout curtains and tension rods
14. Finishing Touches: Making It Legal and Safe
Before hitting the road, ensure your travel van meets all legal requirements and safety standards.
14.1. Registration and Insurance
- Register Your Van: Register your van as a recreational vehicle (RV) if required by your local laws.
- Obtain Insurance: Purchase RV insurance to protect your investment.
14.2. Safety Equipment
- Fire Extinguisher: Essential for extinguishing fires.
- Carbon Monoxide Detector: Protects against carbon monoxide poisoning.
- Smoke Detector: Alerts you to the presence of smoke.
- First Aid Kit: For treating minor injuries.
14.3. Weight Distribution
- Balance the Load: Distribute weight evenly throughout the van to improve handling and stability.
- Avoid Overloading: Do not exceed the van’s maximum weight capacity.
15. Hitting the Road: Enjoying Your Travel Van
With your travel van complete, it’s time to hit the road and enjoy the freedom of van life.
15.1. Trip Planning Tips
- Plan Your Route: Research destinations and plan your route.
- Find Campsites: Locate campgrounds and free camping spots along your route.
- Pack Essentials: Pack clothing, food, water, and other essential supplies.
- Stay Connected: Bring a cell phone or satellite device for communication.
15.2. Van Life Etiquette
- Respect Nature: Leave campsites clean and minimize your impact on the environment.
- Be Considerate: Respect other campers and residents.
- Follow Local Laws: Obey local laws and regulations.
- Stay Safe: Be aware of your surroundings and take precautions to stay safe.
15.3. Resources for Van Lifers
- Online Communities: Connect with other van lifers for tips and support.
- Van Life Blogs: Read blogs for inspiration and advice.
- Mobile Apps: Use apps to find campsites, plan routes, and stay connected.
16. SIXT.VN: Your Partner in Exploring Vietnam
While you’re enjoying your travel van, SIXT.VN can enhance your exploration of Vietnam. We offer a range of services tailored to travelers:
- Airport Transfers: Start your journey stress-free with our reliable airport transfer services.
Address: 260 Cau Giay, Hanoi, Vietnam. Hotline/Whatsapp: +84 986 244 358. - Hotel Booking: Find the perfect accommodations with our extensive selection of hotels.
- Tour Packages: Discover the best of Hanoi and beyond with our expertly curated tour packages.
16.1. Why Choose SIXT.VN?
- Convenience: Easy online booking and dedicated customer support.
- Reliability: Dependable services ensuring a smooth travel experience.
- Expertise: Local knowledge to help you discover Vietnam’s hidden gems.
17. FAQ: Your Travel Van Questions Answered
17.1. What is the best van for a conversion?
The best van depends on your needs and budget. Popular choices include the Ford Transit, Mercedes-Benz Sprinter, and Dodge Ram ProMaster.
17.2. How much does it cost to build a travel van?
Costs vary widely, from $7,200 to $55,600+, depending on the van’s condition, the quality of materials, and whether you do the work yourself or hire professionals.
17.3. How long does it take to convert a van?
Conversion time can range from a few weeks to several months, depending on the complexity of the build and your available time.
17.4. Do I need planning permission to convert a van?
Planning permission is generally not required, but it’s essential to check local regulations to ensure compliance.
17.5. What are the essential features of a travel van?
Essential features include insulation, a comfortable bed, a functional kitchen, an electrical system, and storage solutions.
17.6. How do I insulate a travel van?
Use rigid foam board, spray foam, fiberglass, reflectix, or wool. Ensure all surfaces are clean and dry, and seal any gaps to prevent drafts.
17.7. How do I install an electrical system in a travel van?
Plan your power needs, choose appropriate components, create a wiring diagram, install components, and test the system thoroughly.
17.8. How do I conserve water in a travel van?
Use low-flow faucets, take short showers, and be mindful of water usage.
17.9. What are the best storage solutions for a travel van?
Overhead cabinets, under-bed storage, drawer systems, and wall-mounted shelves are all great options.
17.10. How do I make my travel van comfortable?
Add curtains, pillows, blankets, warm LED lights, and personal decor to create a cozy atmosphere.
18. Conclusion: Your Journey Awaits
Building a travel van is a rewarding journey that offers unparalleled freedom and adventure. By following this comprehensive guide, you can create a mobile home tailored to your travel needs. And when you’re ready to explore Vietnam, remember that SIXT.VN is here to enhance your experience with reliable and convenient services. Happy travels!
Are you ready to start your adventure? Contact SIXT.VN today to learn more about our services and how we can help you explore Vietnam. Visit our website at SIXT.VN or call us at +84 986 244 358 to book your airport transfer, hotel, or tour package. Your unforgettable journey awaits!


